We’ve all dreamed of having that perfect outdoor space where we can relax and entertain without very costly. Creating a stunning backyard patio doesn’t require a massive budget or professional contractors – it just takes some creativity and smart planning.
Transforming your outdoor space into a beautiful retreat is easier than you think. With the right approach we can help you design a patio that looks expensive but costs a fraction of what you’d expect. From repurposing everyday items to choosing budget-friendly materials that still deliver style we’ll show you how to maximize every dollar.
Whether you’re working with a small balcony or a sprawling backyard we’ve compiled the most effective strategies to create your dream patio space. These proven ideas will help you build an outdoor oasis that’s both functional and Instagram-worthy without the hefty price tag.
Create a DIY Concrete Slab Foundation
Building your own concrete foundation saves hundreds of dollars compared to hiring professionals. We’ll show you three affordable approaches that deliver professional results without the hefty price tag.
Pour Your Own Concrete Base
Mixing concrete yourself costs about $3-5 per square foot versus $8-12 for professional installation. Start by excavating your patio area to a depth of 4-6 inches, ensuring proper drainage with a slight slope away from your house. We recommend renting a concrete mixer for $35-50 per day rather than purchasing bags of ready-mix concrete.
Calculate your concrete needs using this formula: length × width × depth (in feet) ÷ 27 = cubic yards needed. A 10×12 foot patio requires approximately 1.5 cubic yards of concrete. Add a gravel base layer of 2-3 inches for stability and drainage before pouring.
Use wooden boards or metal forms to create clean edges around your patio perimeter. Level the concrete with a screed board, then smooth the surface with a float tool. Allow 24-48 hours for initial curing before removing forms, and avoid heavy foot traffic for at least one week.
Use Concrete Pavers Instead of Professional Installation
Concrete pavers offer the easiest DIY foundation option at $2-4 per square foot. These pre-made squares eliminate mixing, pouring, and waiting for concrete to cure. Choose from 12×12 inch, 16×16 inch, or 24×24 inch sizes based on your design preferences.
Prepare your base by creating a level sand bed approximately 1 inch thick. Compact the sand using a hand tamper or plate compactor rental. Place pavers directly onto the sand, maintaining consistent gaps between each piece for a professional appearance.
Check each paver with a level as you work to ensure an even surface. Tap down high spots with a rubber mallet, and add sand beneath low areas. Sweep fine sand into the joints between pavers to lock them in place and prevent shifting over time.
Add Texture with Stamped Concrete Techniques
Stamped concrete patterns cost $1-3 extra per square foot but create the look of expensive stone or brick. Purchase plastic or rubber stamping mats from home improvement stores for $20-40 each. Popular patterns include cobblestone, slate, and wood plank designs that mimic premium materials.
Apply the stamps while your concrete remains workable, typically 2-4 hours after pouring depending on weather conditions. Press each stamp firmly into the surface, overlapping edges slightly to create seamless patterns. Work systematically across your patio to maintain consistent spacing and alignment.
Enhance the stamped texture with concrete stain or integral color additives mixed during the initial pour. Earth tones like tan, gray, and reddish brown create natural stone appearances. Apply a concrete sealer after 28 days of curing to protect your textured surface and enhance color vibrancy.
Build with Reclaimed and Recycled Materials
We’ll maximize our patio potential by embracing sustainable materials that won’t strain our wallet. Reclaimed and recycled materials offer exceptional value while creating unique outdoor spaces with character.
Source Free Pallets for Furniture Construction
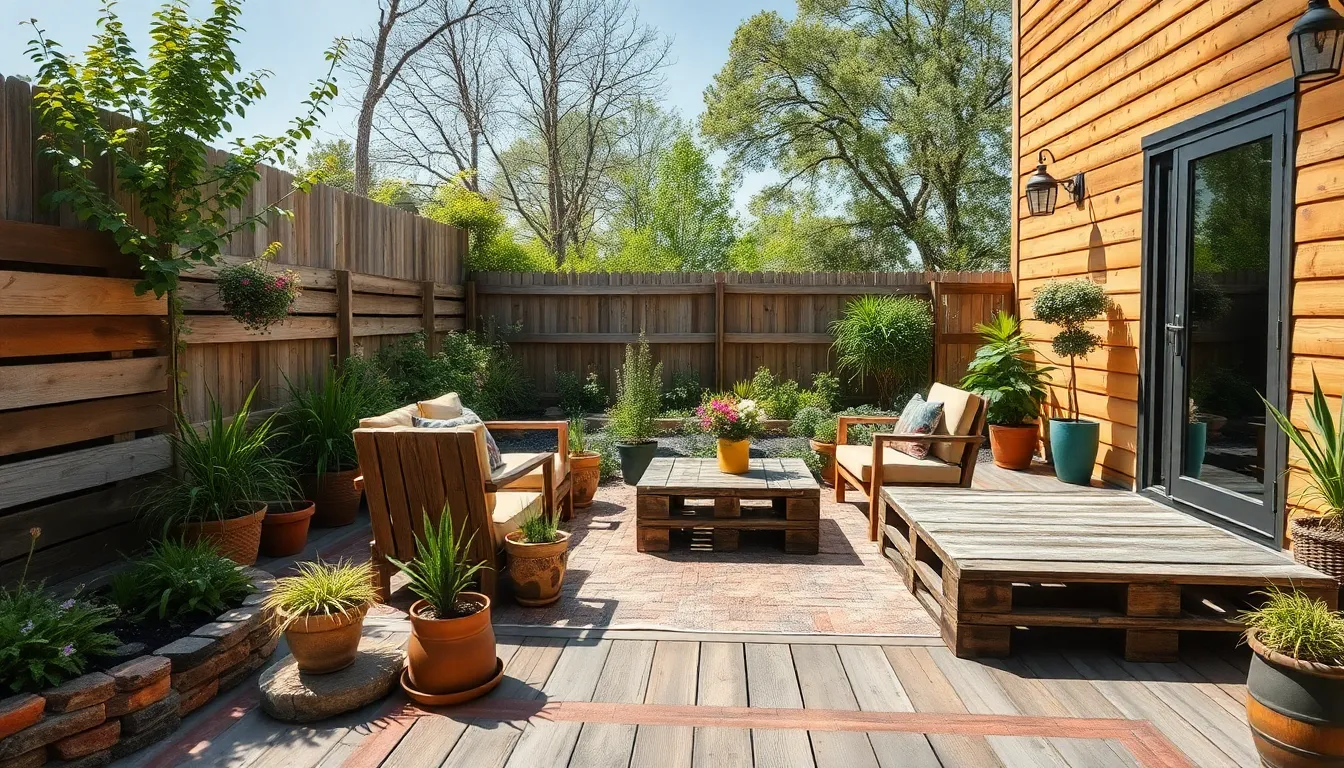
Free wooden pallets transform into stunning outdoor furniture pieces like benches, tables, and planters with minimal effort. We can source these versatile materials from construction sites, local businesses, or online marketplaces at no cost. Sanding and treating the pallet wood ensures durability against weather conditions while maintaining that rustic charm we’re after.
Building pallet furniture requires basic tools and saves hundreds compared to store-bought alternatives. We recommend checking pallets for stamps indicating heat treatment rather than chemical treatment for safety. Creating a pallet coffee table or seating area becomes a weekend project that delivers professional-looking results on our shoestring budget.
Repurpose Old Bricks for Patio Borders
Old bricks salvaged from demolished buildings or remodeling projects create attractive borders and edging for our patio spaces. We can often find these materials at salvage yards, construction sites, or through demolition contractors at rock-bottom prices. Cleaning off old mortar takes some elbow grease but reveals beautiful, weathered bricks with decades of character.
These hardwearing materials withstand outdoor conditions while adding definition to our patio design. We suggest using reclaimed bricks to create raised planters, walkway borders, or fire pit surrounds that complement our overall aesthetic. The vintage appeal of weathered brick adds instant charm without the premium price tag of new materials.
Transform Salvaged Wood into Decking
Salvaged wood from old fences, barns, or construction projects converts into beautiful decking that rivals expensive lumber options. We can source weathered wood that already possesses natural patina and character marks. Proper treatment and sealing protect these materials from moisture while preserving their rustic appearance.
Converting salvaged wood requires sorting pieces by size and condition before installation. We recommend power washing and applying wood preservative to extend the lifespan of our reclaimed decking. This approach creates unique flooring patterns while reducing environmental impact and construction costs significantly compared to new lumber purchases.
Design a Gravel and Stone Patio
Gravel and stone patios offer an excellent alternative to concrete while maintaining the professional appearance you want for your outdoor space.
Choose Affordable Pea Gravel as Your Base
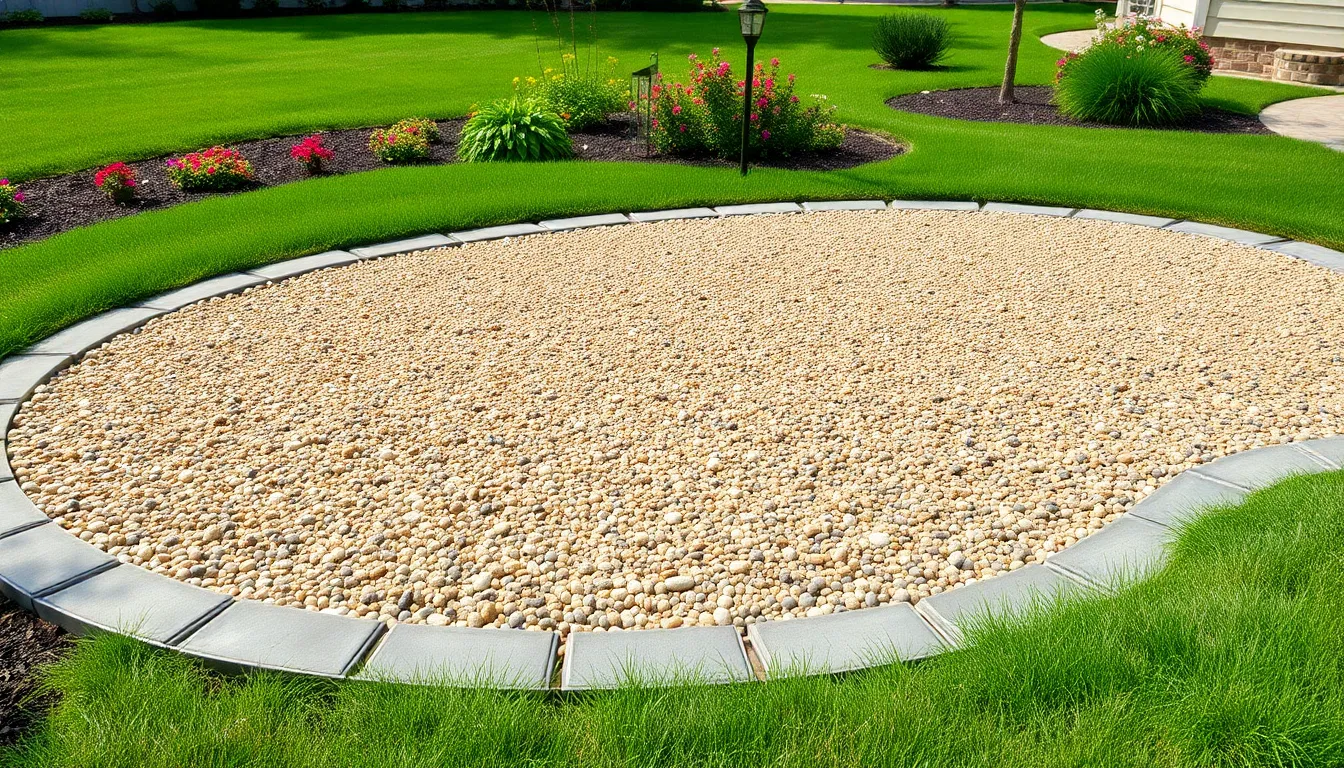
Selecting pea gravel creates the foundation for your budget-friendly patio project. This popular material costs significantly less than pavers or concrete slabs while delivering impressive visual results. We recommend pea gravel because it’s widely available at most home improvement stores and industry supply centers.
Customization options abound with pea gravel’s variety of colors and textures. You’ll find earth tones like tan and brown alongside more vibrant options such as red or gray. The natural texture provides excellent drainage since rainwater passes through the permeable surface rather than pooling on top. This eco-friendly feature prevents water damage while reducing runoff in your backyard.
Installation becomes straightforward with pea gravel’s manageable size and weight. Unlike heavy concrete pavers that require multiple people to position, you can easily spread pea gravel using basic tools like a rake and shovel.
Create Patterns with Different Stone Sizes
Mixing stone sizes adds visual interest without increasing your overall project cost. We suggest combining pea gravel with larger rocks or crushed stone to establish borders and define exact areas within your patio space. This technique creates natural focal points that draw the eye across your outdoor area.
Border creation becomes simple when you use contrasting stone sizes along the perimeter. Larger stones provide clear boundaries while smaller gravel fills the interior spaces. You can source materials locally or use recycled stones from other landscaping projects to keep expenses minimal.
Pathway integration works well with varied stone combinations. Consider using medium-sized crushed stone to create walking paths through your pea gravel base, establishing natural traffic flow patterns that enhance both function and aesthetics.
Install Industry Fabric to Prevent Weeds
Laying industry fabric underneath your gravel prevents unwanted plant growth. This barrier blocks grass and weeds from pushing through the stone surface, which is essential since disturbed gravel allows plants to establish roots easily. We recommend installing fabric before adding any gravel to ensure complete coverage.
Maintenance reduction occurs when you properly install weed barriers. The fabric keeps your patio looking neat and professional while eliminating the need for frequent weeding sessions. This preventive measure saves both time and money over the long term.
Clean installation lines result from using metal strip edging to contain your gravel. Metal edging costs less than decorative alternatives while providing the structural support needed to maintain defined patio boundaries. The contrast between metal and natural stone textures creates an attractive finished appearance that rivals more expensive patio materials.
Construct Simple DIY Patio Furniture
Creating your own patio furniture lets you customize pieces while keeping costs dramatically lower than store-bought alternatives. We can build functional outdoor seating and tables using basic materials and simple carpentry techniques.
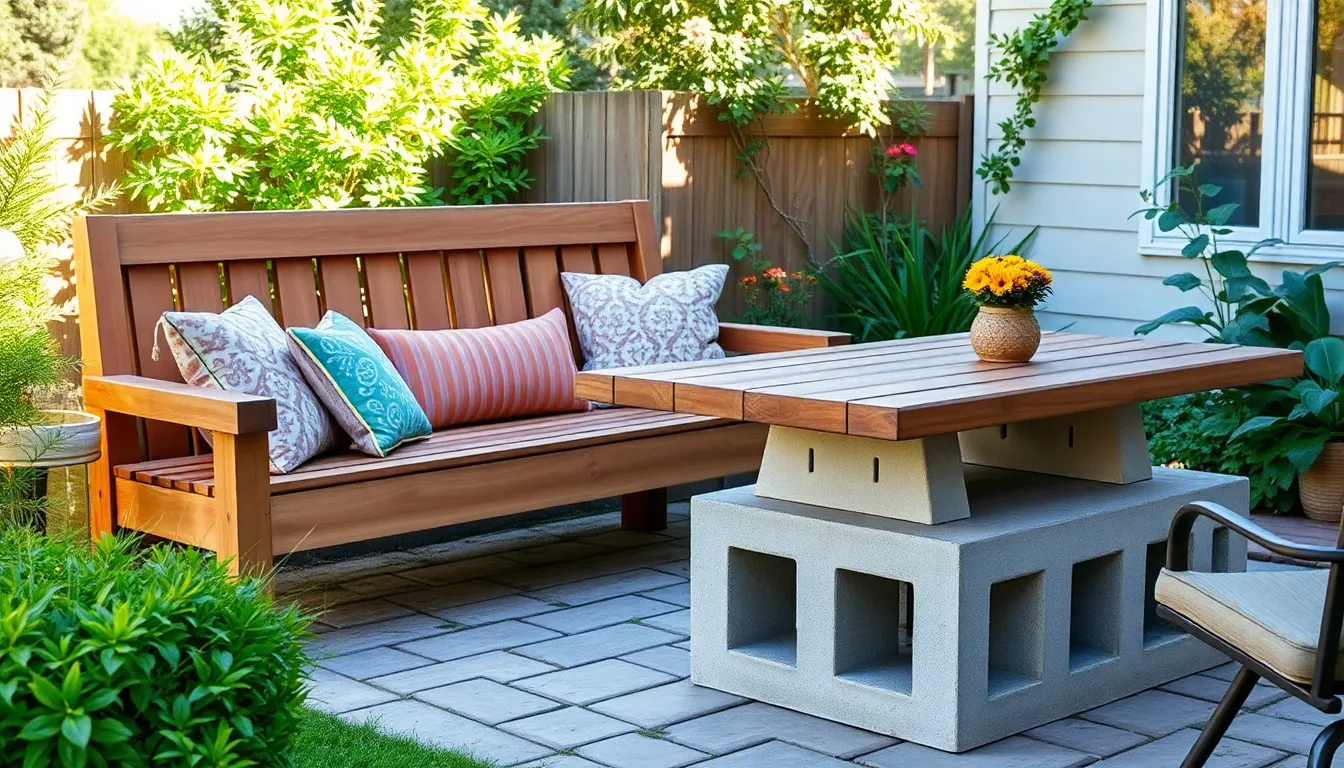
Build Basic Benches from 2×4 Lumber
2×4 lumber offers the perfect foundation for sturdy outdoor benches that’ll last for years. We recommend cutting standard 8-foot boards into manageable sections: two 48-inch pieces for the seat and backrest, plus shorter cuts for legs and support braces. Basic carpentry skills are all you need to assemble these pieces using galvanized screws that resist rust and weather damage.
Sand all surfaces smooth before applying outdoor paint or wood sealant to protect against moisture and UV rays. Weather-resistant finishes extend the bench’s lifespan significantly while adding color that complements your patio design. Assembly typically takes 2-3 hours per bench, making this an ideal weekend project for beginners.
Create Outdoor Tables with Cinder Blocks
Cinder blocks provide an incredibly affordable base for outdoor dining tables that require zero carpentry experience. Stack these concrete blocks in configurations that support your desired table size – we suggest using 4-6 blocks for a standard dining table setup. Each block costs approximately $1-3 at home improvement stores, making this one of the most budget-friendly furniture options available.
Place a wooden slab, stone top, or even reclaimed door across the cinder block base to create your tabletop surface. This modular approach means you can easily rearrange the table height or size as your needs change. Weather resistance comes naturally with concrete blocks, so maintenance stays minimal compared to traditional wooden table bases.
Make Comfortable Seating with Outdoor Cushions
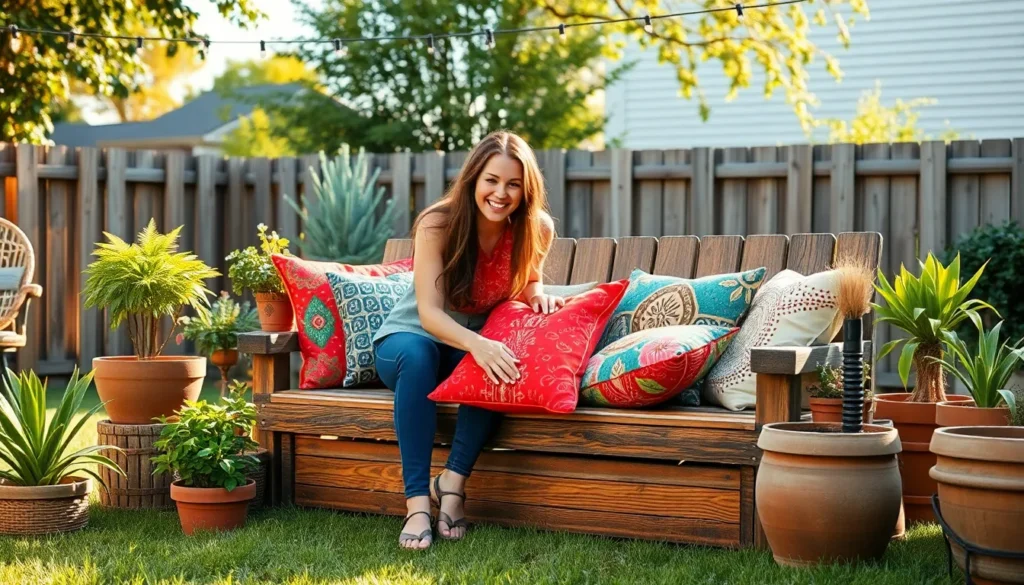
Outdoor cushions transform basic benches and chairs into comfortable seating that rivals expensive patio furniture sets. Weather-resistant fabrics like Sunbrella or marine-grade vinyl protect against rain, sun, and mildew while maintaining their appearance season after season. We can purchase ready-made cushions starting around $15-30 each, or create custom versions using outdoor fabric and foam inserts.
DIY cushion covers save even more money when we sew them ourselves using waterproof thread and heavy-duty zippers. Foam density matters for comfort – we recommend medium-firm foam that provides support without being too rigid for outdoor relaxation. Storage answers like waterproof containers keep cushions dry during harsh weather, extending their usable life significantly.
Add Lighting Without Electrical Work
Creating magical evening ambiance doesn’t require expensive electrical installations or professional wiring. We’ll show you three effective lighting answers that bring warmth and functionality to your budget patio without touching a single wire.
String Solar-Powered LED Lights
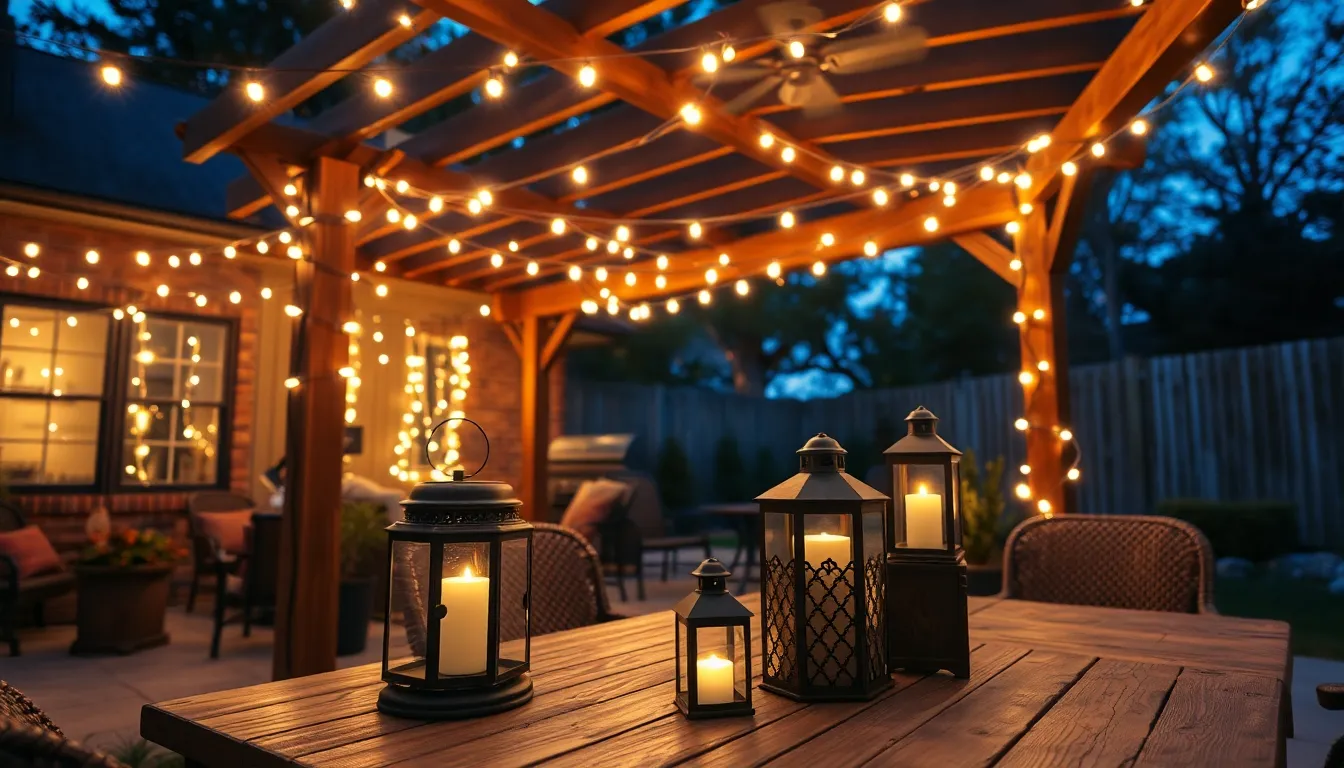
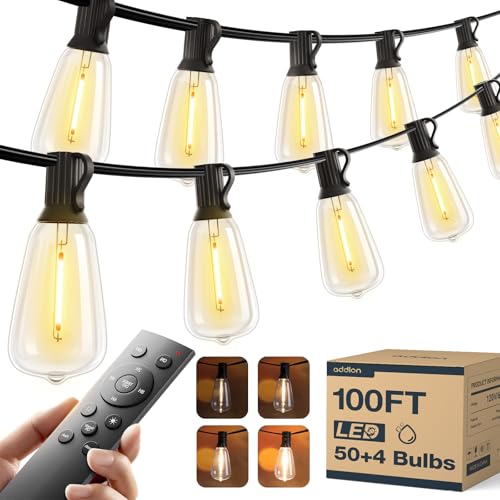
String solar-powered LED lights offer the perfect solution for adding soft, ambient lighting to your patio space. We recommend hanging these versatile lights around railings, pergolas, or between posts to create an enchanting overhead canopy effect. Solar cells charge the lights throughout the day, automatically illuminating your space after dark without any electrical costs.
Most solar string lights provide 6-8 hours of continuous illumination after a full day’s charge. We suggest choosing LED options for their durability and energy efficiency compared to traditional incandescent bulbs. Popular placement options include wrapping them around patio umbrellas, draping them along fence lines, or creating geometric patterns across overhead structures.
Weather-resistant models withstand rain and snow, making them ideal for year-round outdoor use. We find that warm white LEDs create the most inviting atmosphere, while multicolored options work well for festive occasions and entertaining.
Use Battery-Operated Lanterns for Ambiance
Battery-operated lanterns provide flexible lighting answers that require zero installation effort. We love their portability, allowing you to move lighting exactly where you need it for different activities or events. These lanterns come in various styles, from rustic mason jar designs to sleek modern LED candles.
LED candle lanterns create flickering flame effects without fire hazards, perfect for dining areas and conversation spaces. We recommend purchasing lanterns with timers to automatically turn on at sunset and preserve battery life. Rechargeable battery models offer long-term cost savings compared to disposable battery versions.
Grouping multiple lanterns at different heights creates visual interest and provides adequate task lighting for evening activities. We suggest placing larger lanterns on tables and smaller ones along patio edges to define your outdoor living space boundaries.
Install Solar Pathway Lights Around the Perimeter
Solar pathway lights define your patio boundaries while providing essential safety lighting for walkways and steps. We recommend installing these stake-in-the-ground fixtures around patio edges, garden beds, and entrance paths to create a welcoming glow that guides guests safely through your outdoor space.
Most solar pathway lights feature automatic dusk-to-dawn operation, eliminating the need for manual switching or timers. We find that spacing lights 6-8 feet apart provides optimal illumination coverage without overwhelming the space. Stainless steel or weather-resistant plastic models offer the best durability for outdoor conditions.
Higher lumens ratings produce brighter light output, with 15-20 lumens being ideal for pathway safety and 5-10 lumens perfect for subtle accent lighting. We suggest choosing lights with replaceable batteries to extend their lifespan and maintain consistent performance over multiple seasons.
Incorporate Low-Cost Landscaping Elements
Landscaping elements can transform your budget patio from basic to beautiful without requiring major investments. We’ll show you three strategic approaches that maximize visual impact while keeping costs minimal.
Plant Affordable Perennials in Containers
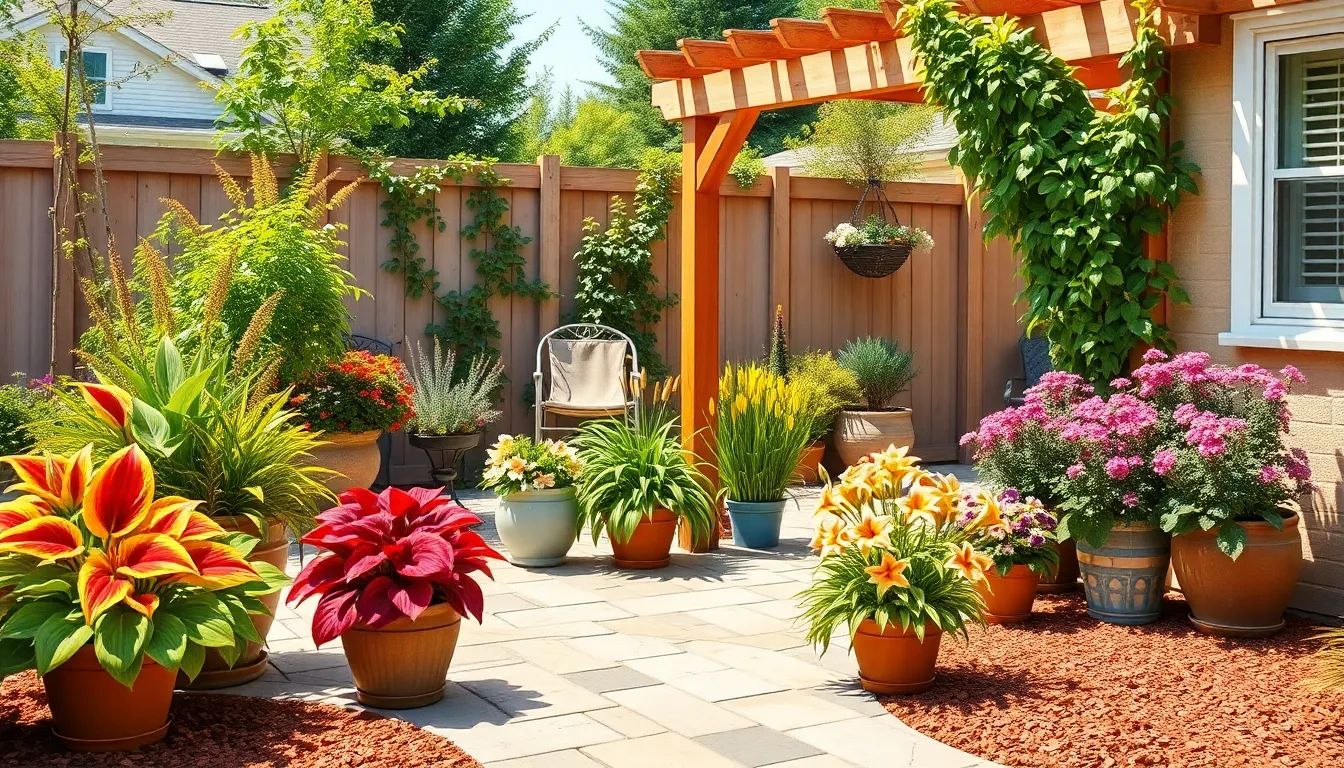
Container gardening offers exceptional value for budget-conscious patio builders. We recommend choosing perennials over annuals because they return year after year, providing lasting beauty for a single purchase price. Hostas, daylilies, and ornamental grasses thrive in containers while requiring minimal care throughout multiple seasons.
Spacing becomes more manageable when we use containers to control plant placement and soil usage. You’ll find that perennial ground covers like creeping thyme or moss work beautifully between pavers, creating natural pathways without extensive soil preparation. These hardy plants establish quickly and spread naturally, filling gaps that would otherwise require expensive hardscaping materials.
Moving containers allows us to rearrange our patio layout seasonally or when entertaining guests. Budget-friendly options include repurposed wooden crates, large ceramic pots from discount stores, or even DIY planters made from concrete blocks.
Create Privacy Screens with Fast-Growing Vines
Fast-growing vines provide natural privacy screening at a fraction of the cost of building solid walls or purchasing expensive privacy panels. We suggest planting morning glories, clematis, or jasmine along existing fences or simple trellis structures for quick coverage that transforms bare boundaries into lush green backdrops.
Training vines on wire mesh or wooden lattice creates attractive vertical gardens that block unwanted views while adding natural beauty. These climbing plants establish rapidly during their first growing season, providing immediate privacy benefits that improve each year.
DIY trellis systems cost significantly less than professional privacy installations. You can construct effective supports using basic lumber and wire mesh, creating custom screening answers that fit your exact patio dimensions and privacy needs.
Add Mulch Borders for a Finished Look
Mulch ranks among the most economical landscaping materials available, yet it delivers professional-quality results that define and polish your patio space. We apply mulch borders around patio edges and garden beds to create clean visual boundaries that separate different areas within your outdoor space.
Organic mulches like wood chips or shredded bark provide dual benefits by retaining soil moisture and suppressing weed growth around your patio perimeter. This natural material adds visual warmth and texture contrast against stone, concrete, or gravel patio surfaces, creating depth and interest in your design.
Purchasing mulch wholesale or from local stoneyards reduces costs dramatically compared to retail bagged products. You’ll achieve the same polished appearance while keeping your budget intact, and the mulch will continue working year-round to maintain your patio’s finished look with minimal ongoing maintenance.
Install a Simple Fire Feature
Adding a fire feature transforms any budget patio into a cozy gathering space perfect for year-round entertaining. We’ll show you three affordable approaches that deliver maximum impact without requiring professional installation or expensive materials.
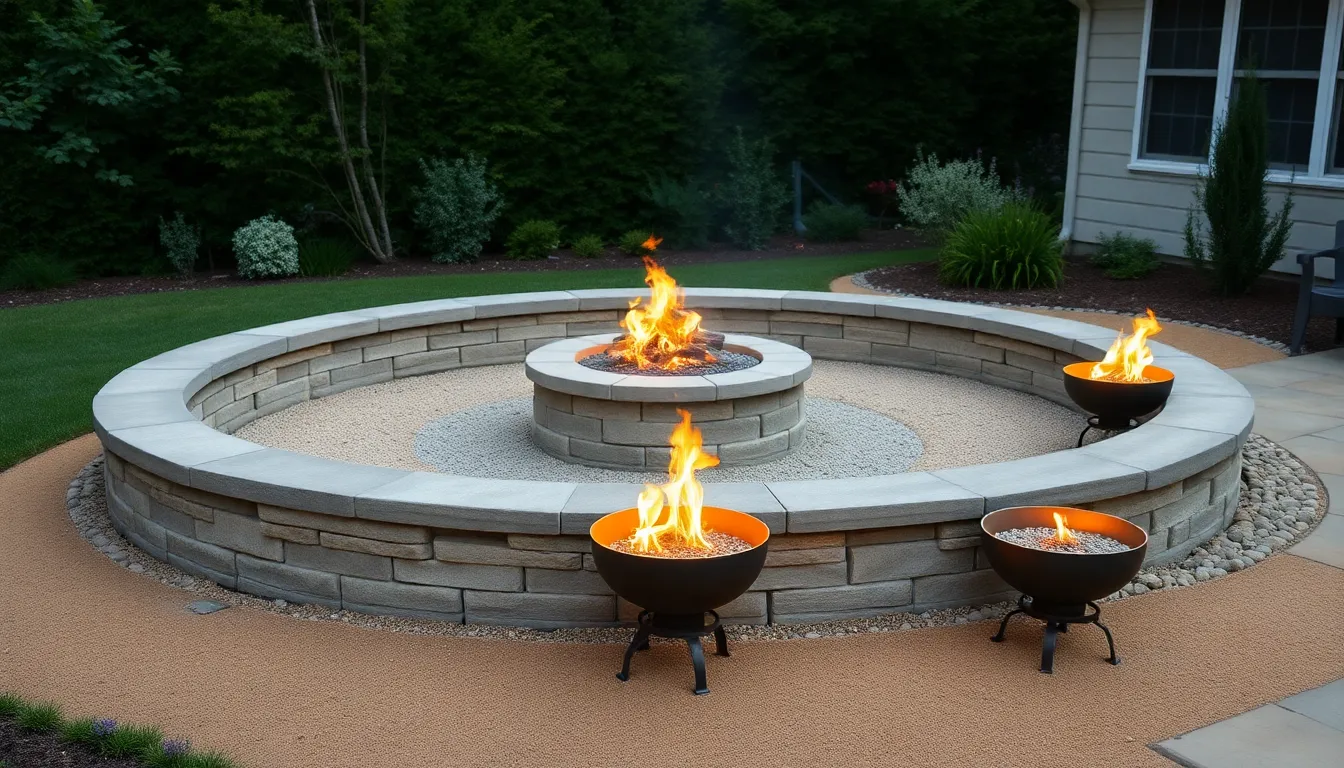
Build a Basic Fire Pit with Retaining Wall Blocks
Building a fire pit with retaining wall blocks creates the most cost-effective permanent fire feature for your patio space. These blocks stack easily without mortar, making this project completely beginner-friendly and requiring only basic tools like a shovel and level.
Arrange the blocks in either a circular or square configuration to safely contain your fire and create an attractive focal point. Circular designs typically use 8-12 blocks per row, while square pits need 16-20 blocks depending on your desired size.
Stack 2-3 rows of blocks to achieve the proper height for comfortable seating around your fire pit. This height allows people to rest their feet on the edge while maintaining safe distance from flames.
Choose retaining wall blocks over regular bricks because they’re specifically designed to withstand heat and weather exposure. These blocks cost approximately $2-4 each at most home improvement stores, making a complete fire pit achievable for under $100.
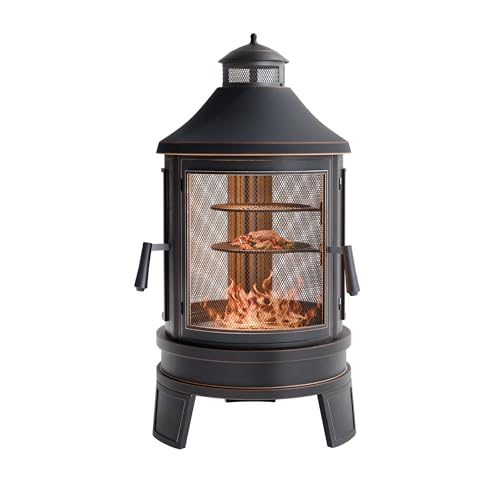
Create a Portable Fire Bowl Setup
Portable fire bowls offer maximum flexibility while avoiding the permanent commitment and higher costs of built-in fire features. These setups work perfectly for renters or anyone who wants to relocate their fire feature seasonally.
Metal bowls on stands provide the most popular portable option, with quality units starting around $50-150 depending on size and materials. We recommend choosing bowls with drainage holes to prevent water accumulation during rainy seasons.
Position your fire bowl on stable, level ground away from overhanging branches or structures to ensure safe operation. Portable units allow you to move the fire feature for optimal wind protection or to accommodate different seating arrangements.
Store the fire bowl in a garage or shed during harsh weather to extend its lifespan significantly. This storage capability makes portable options ideal for areas with extreme seasonal weather conditions.
Use Sand and Gravel for Safe Fire Pit Surroundings
Surrounding your fire pit with sand and gravel creates essential safety barriers while adding attractive texture to your patio design. This approach minimizes fire risk to nearby grass, wooden decking, or other flammable materials in your outdoor space.
Clear grass and excavate a shallow area extending 3-4 feet around your fire pit location to create adequate safety zones. Remove vegetation down to approximately 4-6 inches depth to ensure proper drainage and prevent unwanted plant growth.
Install landscaping fabric over the excavated area to block weeds while allowing water drainage through the material. This fabric prevents maintenance headaches and keeps your fire pit area looking clean throughout the seasons.
Fill the area with gravel or sand to create an attractive, low-maintenance surface that complements your fire feature beautifully. Pea gravel works exceptionally well and costs roughly $30-50 per cubic yard when purchased from local stone yards.
Enhance with Budget-Friendly Decorative Touches
Once you’ve established your patio foundation and furniture, decorative elements transform your outdoor space into a personalized retreat. These affordable enhancements create visual interest and comfort without requiring important investment.
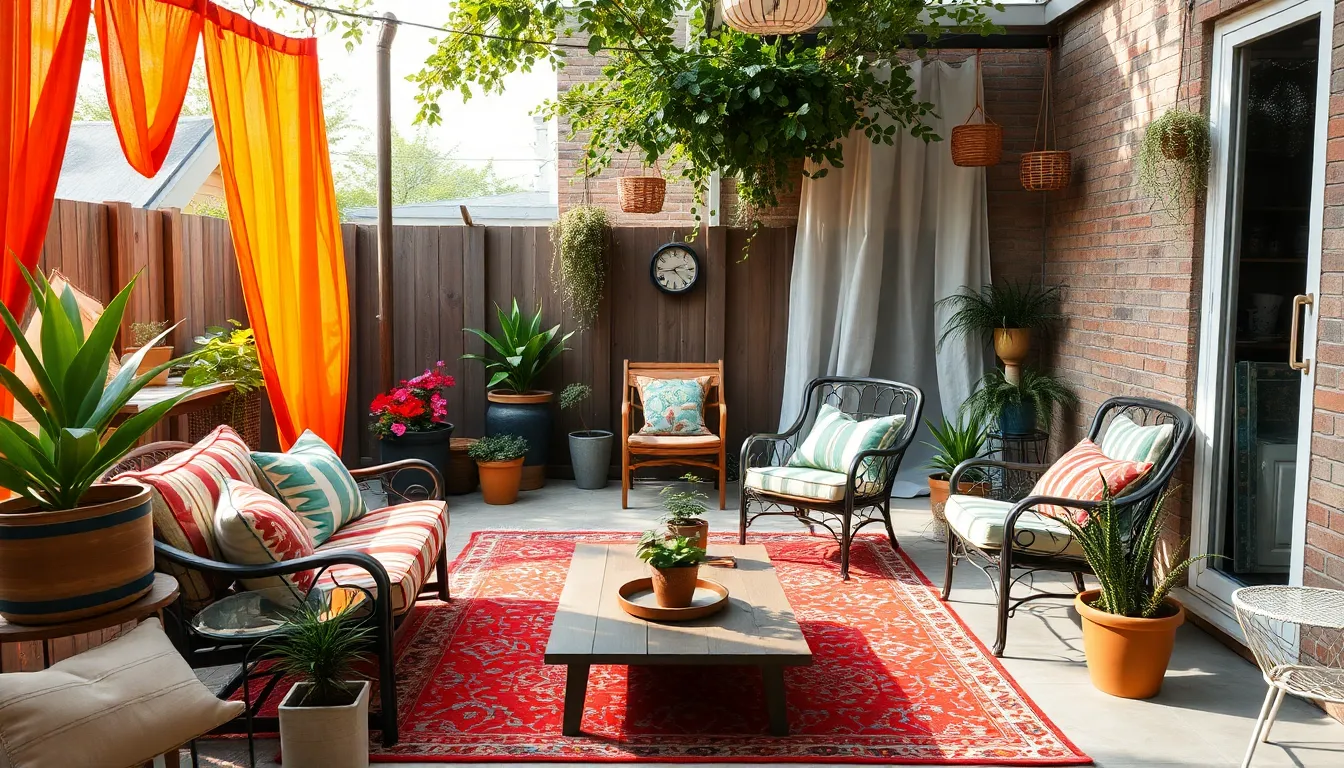
Hang Outdoor Curtains for Privacy and Style
Outdoor curtains provide an instant upgrade that enhances privacy while creating a cozy, enclosed feeling in your patio space. Simple curtain rods or wire installations make hanging these affordable privacy screens straightforward and budget conscious. Weather resistant fabrics like polyester or canvas withstand outdoor conditions while offering various color and pattern options to match your design preferences.
Privacy becomes achievable without constructing expensive walls or fencing when you strategically place curtains around seating areas. Installation costs remain minimal since basic hardware stores carry affordable mounting answers including tension rods and wall brackets. The enclosed atmosphere these curtains create makes your patio feel like an outdoor room rather than an exposed deck space.
Style enhancement occurs immediately as curtains add softness and visual warmth to hard patio surfaces. Moving gently in breezes, they introduce ever-changing elements that solid structures cannot provide. Color coordination with your existing outdoor furniture creates a cohesive design scheme that appears professionally planned.
Add Colorful Outdoor Rugs for Comfort
Colorful outdoor rugs define seating areas while adding comfort underfoot on hard patio surfaces. Placement of these rugs creates distinct zones within your patio space, making the area feel more organized and intentional. Discount stores and online retailers offer weather resistant options at fraction of indoor rug prices.
Visual interest increases dramatically when you select rugs with bold patterns or vibrant colors that complement your outdoor furniture. Comfort improves significantly as rugs provide cushioning for bare feet and create warmer surface temperatures during cooler weather. Multiple smaller rugs can define different activity areas like dining, lounging, or conversation spaces.
Maintenance remains simple since most outdoor rugs feature materials designed to resist fading, mildew, and moisture damage. Cleaning requires only occasional hosing down or sweeping to remove debris. Storage during harsh weather extends rug lifespan and preserves appearance for multiple seasons.
Display Potted Plants in Thrifted Containers
Thrifted containers offer unique character while providing affordable housing for your favorite plants and flowers. Upcycled items like vintage buckets, ceramic bowls, and wooden crates create distinctive planters that add personality to your patio design. Thrift stores, garage sales, and online marketplaces provide endless container options at minimal cost.
Variety becomes achievable when you mix different container sizes, shapes, and materials throughout your patio space. Drainage holes require drilling in non permeable containers, but this simple modification ensures plant health and prevents root rot. Creative arrangements using different height containers create visual layers that make your patio appear more established and mature.
Plant selection benefits from container flexibility since you can move arrangements seasonally or rearrange for optimal growing conditions. Herbs, flowers, and small vegetables thrive in repurposed containers while providing practical benefits like fresh ingredients or natural fragrance. Combining various plant types in grouped container displays creates attractive focal points that draw attention and add natural beauty to your budget patio design.
Seasonal updates become cost effective when you simply swap out plants rather than purchasing new containers each season.
Conclusion
Creating our dream patio doesn’t require very costly or hiring expensive contractors. With the right combination of DIY techniques affordable materials and creative repurposing we can transform any outdoor space into a beautiful retreat.
From concrete foundations and gravel patios to handmade furniture and solar lighting each element works together to maximize our investment. The key lies in planning strategically and embracing the satisfaction that comes from building something beautiful with our own hands.
Our budget-friendly patio will provide years of enjoyment while proving that style and functionality don’t have to come with a hefty price tag. Start with one project and gradually build your outdoor oasis at your own pace.
Frequently Asked Questions
Can I really build a patio on a tight budget?
Yes, you can create a beautiful patio without spending thousands. The key is using budget-friendly materials like concrete pavers, reclaimed wood, and pea gravel instead of expensive contractors. With creativity and smart planning, you can transform any outdoor space into an attractive retreat for a fraction of the typical cost.
What’s the cheapest foundation option for a DIY patio?
Concrete pavers offer the most affordable foundation option, requiring minimal preparation and no mixing. They’re easier to install than poured concrete and cost significantly less than professional installation. For even more savings, consider a gravel and stone base using pea gravel, which provides excellent drainage and comes in various colors.
Where can I find free or cheap materials for my patio project?
Look for free wooden pallets from local businesses, old bricks from construction sites or demolition projects, and salvaged wood from fences or barns. Many companies discard these materials, making them perfect for budget-conscious DIY projects. Always treat reclaimed wood for durability and longevity.
How do I prevent weeds in my gravel patio?
Install landscape fabric beneath your gravel base to prevent weed growth and reduce maintenance. This barrier blocks weeds while allowing proper drainage. Combine this with metal strip edging to maintain clean installation lines and keep gravel contained within your designated patio area.
Can I add lighting without hiring an electrician?
Absolutely! Use solar-powered LED string lights for ambient lighting, battery-operated lanterns for portable flexibility, or solar pathway lights to define boundaries. These options require no electrical work, are energy-efficient, and can be easily repositioned as needed for different occasions or seasons.
What’s the easiest DIY furniture to build for my patio?
Basic benches made from 2×4 lumber are perfect for beginners. They require minimal tools and skills while providing sturdy seating. Alternatively, use cinder blocks as modular table bases – they’re affordable, require no assembly, and can be reconfigured easily. Add weather-resistant cushions for comfort.
How can I create privacy on my patio cheaply?
Plant fast-growing vines along fences or trellises for natural privacy screens, or hang outdoor curtains using weather-resistant fabrics. Both options cost significantly less than building solid walls and add visual appeal. Vines also provide environmental benefits like air purification and temperature control.
What’s the safest way to add a fire feature?
Build a basic fire pit using retaining wall blocks, which are heat-resistant and affordable. Arrange blocks in a circle and surround with sand and gravel for safety. For renters or those wanting flexibility, consider a portable fire bowl setup that can be moved and stored when not in use.

