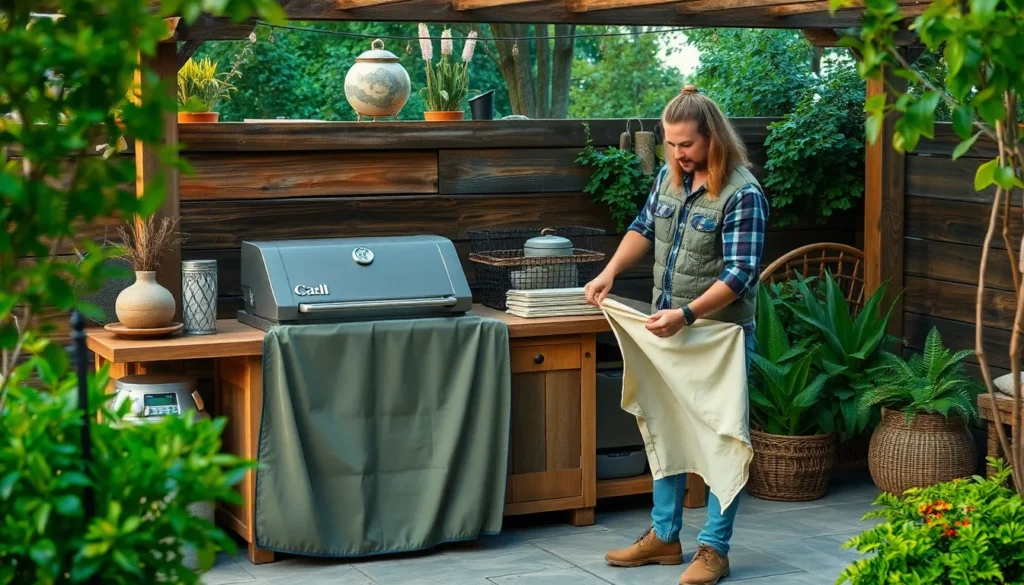
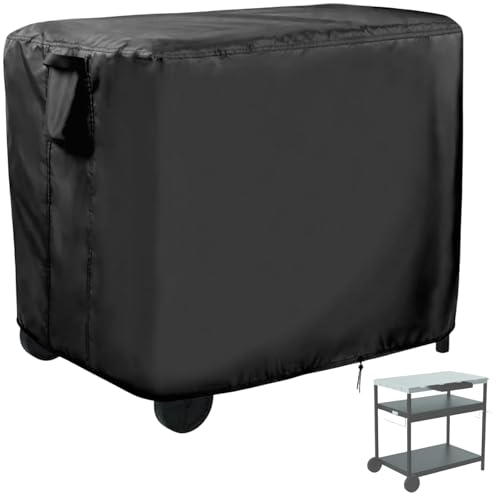
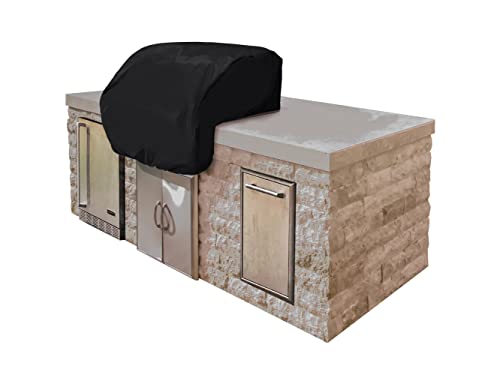
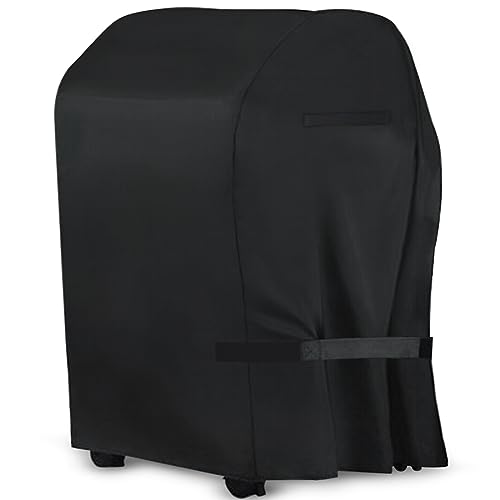
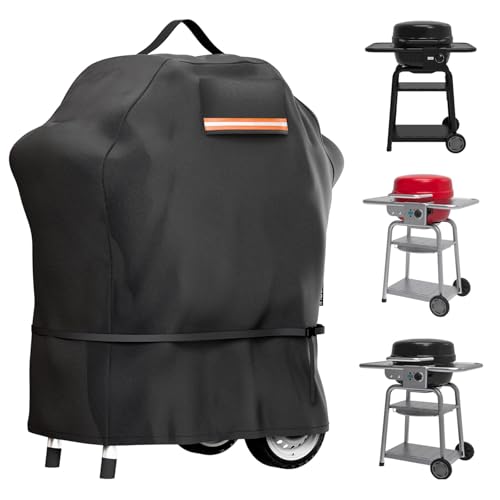
Transform your outdoor cooking space into a stunning focal point with creative DIY grill cover patio ideas that’ll make your neighbors envious. We’ve discovered that the right grill cover design doesn’t just protect your investment – it becomes a statement piece that elevates your entire patio aesthetic.
Whether you’re working with a tight budget or simply love the satisfaction of creating something unique we’ll show you how to create custom grill covers that perfectly complement your outdoor style. From rustic wooden structures to modern metal designs these DIY answers offer endless possibilities for personalization.
The best part? You don’t need advanced carpentry skills or expensive tools to achieve professional-looking results. We’ve compiled the most effective techniques and materials that deliver maximum impact while keeping costs minimal.
Creative DIY Grill Cover Ideas Using Repurposed Materials
We’ve discovered that transforming everyday materials into protective grill covers offers both environmental benefits and important cost savings for your outdoor cooking space.
Transform Old Tarps Into Weather-Resistant Covers
Tarps make excellent grill cover foundations because they already possess water resistance and UV protection built into their design. We recommend selecting heavy duty vinyl or polyethylene tarps rated at 12 mil thickness or higher for maximum durability against outdoor elements.
Cut the tarp to size by measuring your grill dimensions and adding 12 inches on all sides for proper coverage. Add reinforcement strips along stress points using outdoor fabric adhesive or heat welding techniques to prevent tearing at corner joints.
Create adjustable tie down points by installing grommets every 18 inches around the perimeter using a grommet tool kit. Thread bungee cords or adjustable straps through these anchor points to secure the cover during windy conditions.
Customize the appearance with outdoor fabric paint or vinyl decals to match your patio’s aesthetic. Apply these decorative elements to clean, dry surfaces for optimal adhesion and longevity.
Upcycle Canvas Drop Cloths for Durable Protection
Canvas drop cloths offer superior breathability compared to plastic alternatives while maintaining excellent water resistance when properly treated. We suggest choosing 10 oz or 12 oz weight canvas for optimal balance between protection and workability.
Treat the canvas with waterproofing solution before assembly to enhance moisture resistance without compromising the fabric’s natural breathability. Apply two coats of marine grade waterproofing spray, allowing 24 hours between applications.
Design a fitted cover pattern by creating a paper template based on your grill measurements. Transfer this pattern to the canvas using fabric chalk, then cut with sharp fabric scissors for clean edges.
Reinforce high stress areas with double layer patches at corners and attachment points. Sew these reinforcements using heavy duty thread rated for outdoor use, ensuring all seams receive double stitching for maximum strength.
Add functional features like zippered access panels for easy grill maintenance or mesh ventilation strips to prevent moisture buildup inside the cover.
Repurpose Outdoor Fabric From Old Patio Furniture
Outdoor furniture fabric provides premium materials already designed to withstand UV rays, moisture, and temperature fluctuations throughout multiple seasons. We often find usable fabric sections on chairs, umbrellas, and cushions that homeowners consider damaged beyond repair.
Salvage the best sections by carefully removing fabric from furniture frames using seam rippers or utility knives. Focus on areas without fading, tears, or excessive wear patterns that could compromise the cover’s effectiveness.
Clean and sanitize salvaged materials using mild detergent answers and UV sanitizing treatments to eliminate mold, mildew, or pest residues. Allow complete drying before beginning your grill cover project.
Combine different fabric pieces using outdoor thread and weather resistant seams to create unique patchwork designs. Plan your layout to position the most durable sections over high wear areas like the grill top and sides.
Incorporate existing hardware such as snaps, buckles, or elastic straps from the original furniture into your grill cover design. These components often provide superior functionality compared to generic hardware store alternatives.
Build a Permanent Grill Shelter Structure
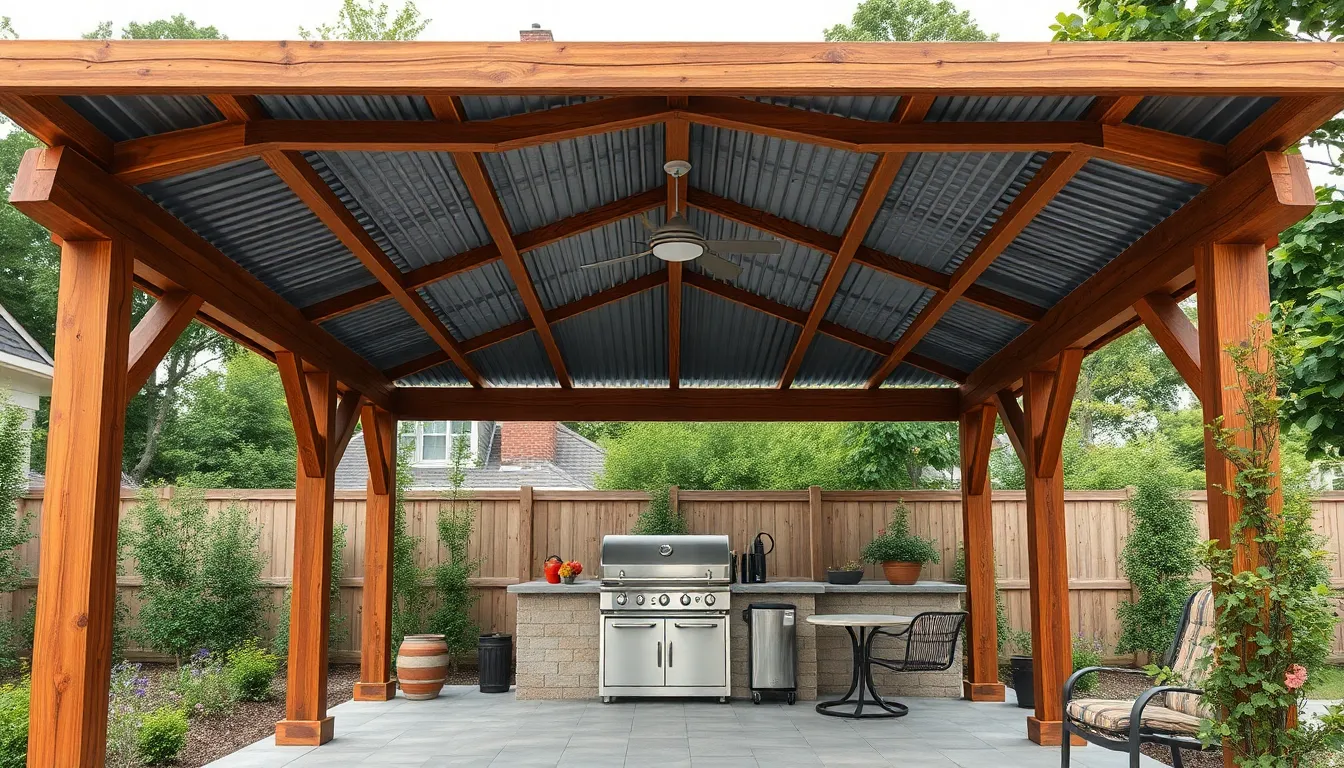
Building a permanent shelter takes your outdoor cooking space from basic to extraordinary. We’ll create a lasting structure that protects your grill year-round while adding important value to your patio area.
Construct a Simple Wooden Canopy Frame
Starting with the foundation, we need to select a location that provides easy access and proper ventilation for our permanent shelter. Western Red Cedar offers the best combination of longevity and natural decay resistance for this type of project. We recommend using pressure-treated lumber for the vertical posts and horizontal beams to ensure maximum durability against weather elements.
Measuring becomes critical when we’re creating a frame that accommodates both your grill and any prep areas you want to include. Free project plans with detailed dimensions are available online to guide your construction process. We should space our vertical posts appropriately to create a stable structure that won’t wobble in strong winds.
Assembly starts with securing the vertical posts into concrete footings for maximum stability. Connecting the horizontal beams creates the framework that’ll support our roofing material. We need to ensure all joints are properly secured with galvanized bolts and brackets to prevent loosening over time.
Install Corrugated Metal Roofing for Maximum Protection
Corrugated metal sheets provide unmatched durability and weatherproof protection for our permanent grill shelter. Installing this roofing material requires careful measurement and proper fastening techniques to ensure water drains quickly and effectively. We should use galvanized screws with rubber washers to prevent leaks at attachment points.
Positioning the metal sheets with proper overlap prevents water infiltration during heavy rainfall. Each sheet needs to be secured at the peak and valley points of the corrugation pattern. We must ensure adequate slope for water runoff, typically a minimum of 1/4 inch per foot.
Weather resistance improves dramatically with corrugated metal because it withstands wind, rain, and snow loads that would damage other materials. Maintenance requirements drop significantly since metal roofing doesn’t rot, warp, or require regular treatments like other materials.
Add Retractable Side Panels for Wind Resistance
Retractable side panels transform our permanent shelter into a versatile outdoor room that adapts to changing weather conditions. Canvas, vinyl, or clear plastic materials work well for these panels, each offering different benefits for wind protection and visibility. We can install track systems that allow panels to slide or roll up when we want open airflow.
Flexibility becomes the key advantage since we can adjust protection levels based on current conditions. Rolling up panels on warm, calm days maintains airflow while keeping them down during windy or rainy weather provides complete protection. We should choose materials that resist tearing and fading from UV exposure.
Installation methods vary depending on the panel material we select, but most systems use either track mounting or snap-on attachments. Securing panels properly prevents wind damage while ensuring smooth operation throughout the seasons. We need to consider both the weight of the panels and the mounting hardware when planning our installation approach.
Design a Rolling Grill Cover Cart
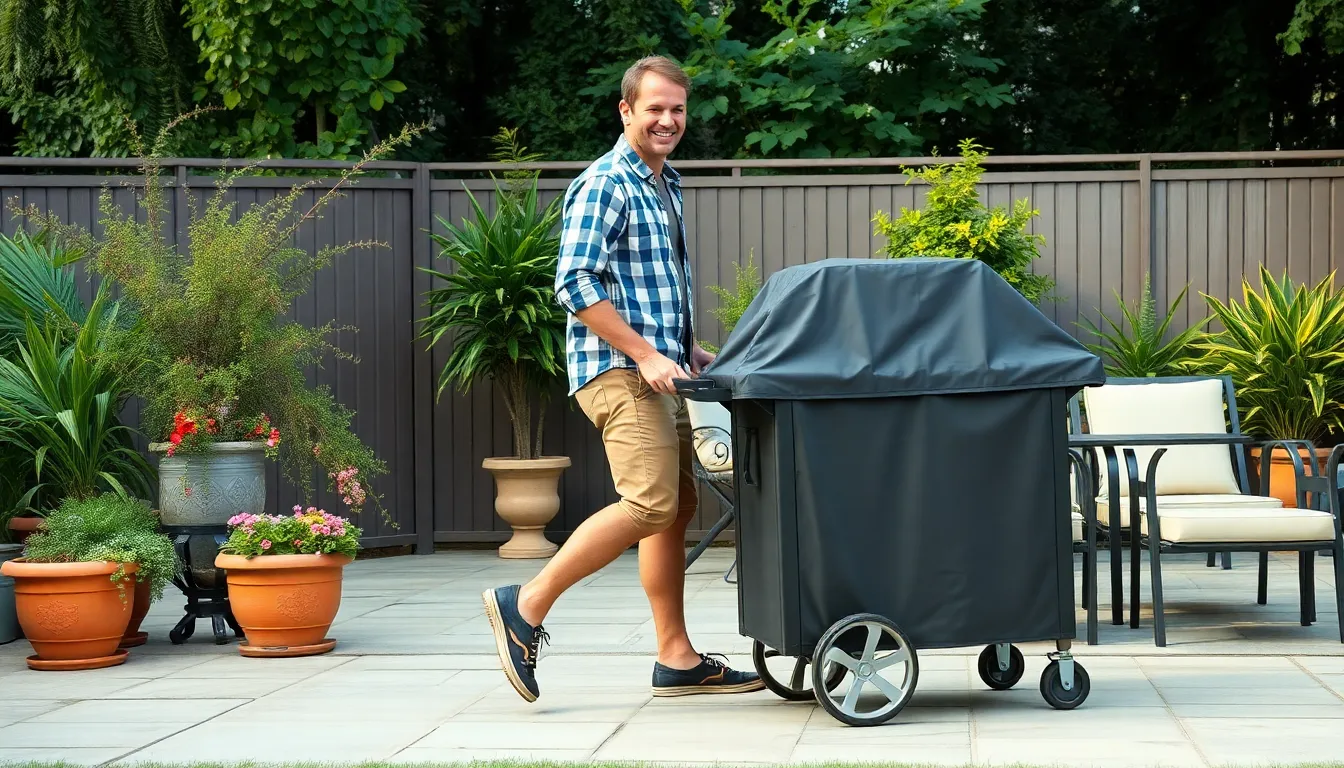
Building on our permanent shelter ideas, we’re creating a mobile solution that combines protection with maximum versatility. Rolling grill cover carts offer the perfect balance of weather protection and patio flexibility, letting us move our cooking station wherever we need it most.
Create Mobile Storage With Built-In Cover
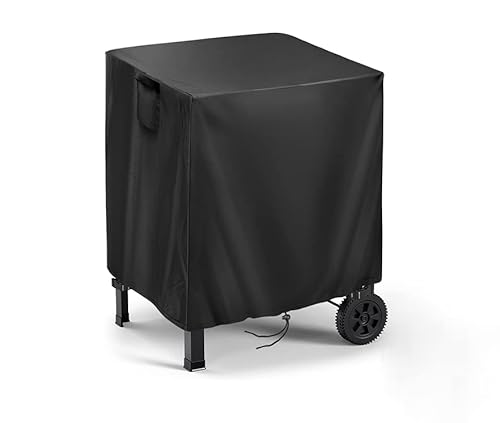
Weather-resistant materials form the foundation of our mobile storage design, with heavy-duty canvas, vinyl, or polyester providing long-lasting protection against the elements. We’ll construct the cart frame from weatherproof wood or metal, ensuring it fits snugly around our grill with a custom-fit cover that prevents moisture and debris from entering.
Integrated compartments transform our cart into a complete grilling station, with built-in shelves and storage areas for tools, condiments, charcoal, and accessories. The cover doubles as both protective sleeve and storage component, keeping everything organized and protected year-round.
Space-efficient features maximize our storage capacity without increasing the cart’s footprint, including foldable side shelves and under-grill drawers for prep work and additional storage. These smart design elements ensure we have everything we need within arm’s reach while maintaining a compact profile.
Add Wheels and Handles for Easy Movement
Heavy-duty casters attached to the cart’s base enable smooth rolling across various patio surfaces, from concrete to wooden decking. Locking wheels provide security when we need the cart to stay in place during cooking sessions or storage periods.
Sturdy handles installed on the sides or back help easy pushing and pulling, making it simple to reposition our entire grilling setup. We’ll position these handles at comfortable heights to reduce strain and improve maneuverability around outdoor furniture and tight spaces.
Multi-directional mobility becomes possible with properly positioned wheels and handles, allowing us to navigate corners, steps, and uneven surfaces with confidence. This design flexibility means our grill can move from patio to deck to lawn as needed for different occasions.
Incorporate Tool Storage Compartments
Versatile storage answers combine hooks, drawers, shelves, and built-in bins to organize long-handled tools, utensils, and smaller accessories efficiently. We’ll design these compartments for quick access during cooking, with doors or covers that open wide for maximum convenience.
Strategic placement ensures our most-used tools stay within easy reach while keeping the cart organized and clutter-free. Different compartment sizes accommodate everything from spatulas and tongs to thermometers and cleaning supplies.
Enhanced functionality comes from adding a countertop or glass surface on top of our cart, creating valuable prep space while maintaining storage underneath. This dual-purpose design maximizes our outdoor cooking efficiency while keeping tools and supplies neatly organized and readily accessible.
Craft Custom-Fitted Covers for Unique Grill Shapes
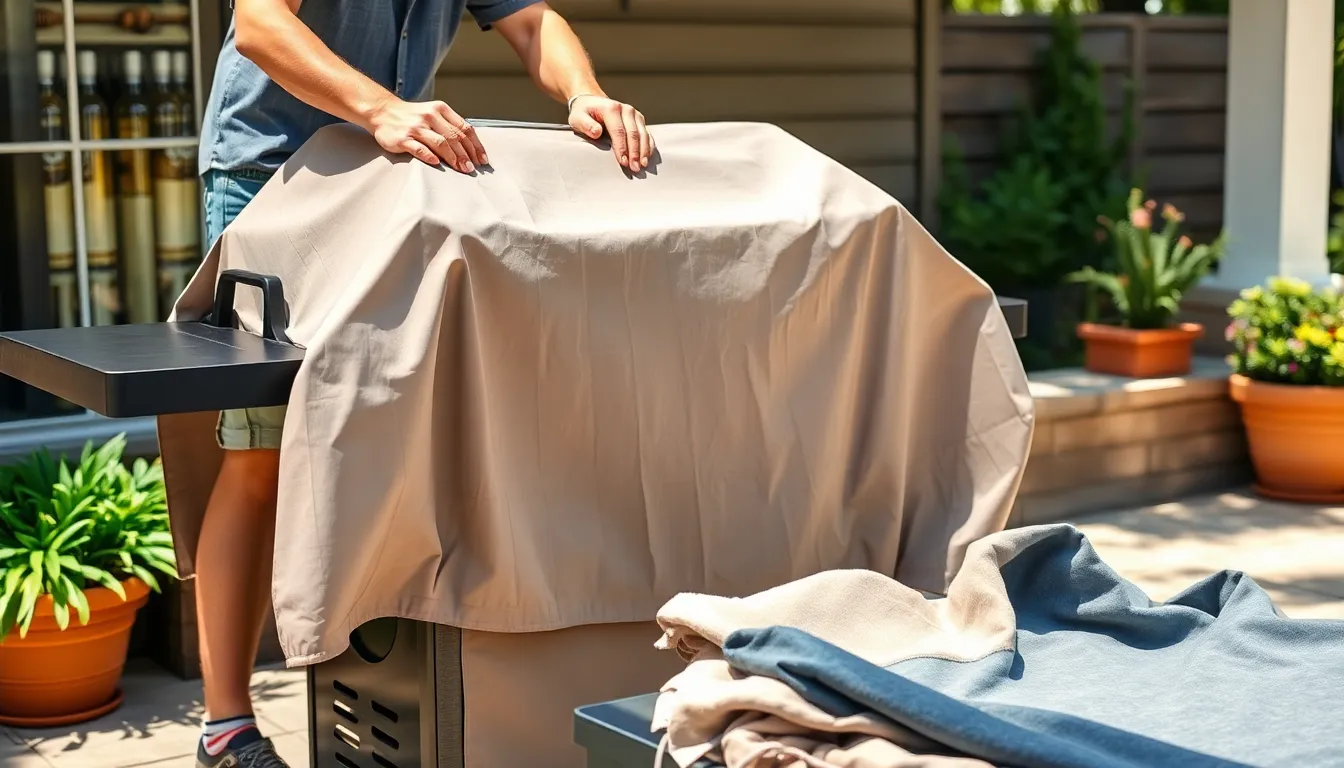
Creating a perfectly fitted cover ensures your grill gets complete protection without excess fabric that can flap around or cause damage. We’ll walk you through the essential steps to create a cover that matches your grill’s exact specifications.
Measure and Pattern for Perfect Fit
Start by gathering a flexible measuring tape to capture every dimension of your grill accurately. We need to record the height, width, depth, and any unique features like side shelves, handles, or temperature gauges that protrude from the main body.
Draft your pattern on paper first using these exact measurements before cutting any fabric. This step saves expensive materials from costly mistakes and lets us visualize how each piece will connect. We recommend adding 2-3 inches of extra allowance around all edges for seams and hems.
Cut your fabric according to this carefully planned pattern for the most precise fit possible. Grills with curved surfaces or angled corners benefit from strategically placed darts or gussets that conform to these unique shapes. Test fit your pattern pieces on the grill before making final cuts to ensure everything aligns properly.
Choose Weather-Resistant Fabric Options
Heavy-duty canvas offers excellent durability and breathability while providing solid protection against most weather conditions. This natural material resists tearing and handles repeated folding without developing permanent creases.
Vinyl delivers completely waterproof protection and exceptional toughness but offers less air circulation than other options. We find this material works best in consistently wet climates where moisture protection takes priority over breathability.
Polyester fabric with waterproof coating combines lightweight handling with strong UV resistance and weather protection. This synthetic option maintains its color longer than natural materials and dries quickly after rain exposure.
Outdoor-rated tarp material provides purpose-built protection designed specifically to withstand harsh outdoor elements year-round. Budget-conscious DIYers can repurpose thick plastic sheeting or fabric scraps, though we must verify these materials offer adequate strength and weatherproofing.
Add Velcro or Snap Closures for Security
Sew Velcro strips along the bottom edges of your cover for simple yet effective fastening that resists wind lifting. These strips create a strong seal while allowing quick removal when we need grill access.
Snap fasteners serve as durable alternatives to Velcro and handle repeated use better over time. We position these closures at stress points where wind typically tries to lift the cover away from the grill base.
Elastic hems or drawstrings provide adjustable tightness that accommodates slight measurement variations while creating a snug fit. This flexibility proves especially valuable when covering grills with irregular shapes or multiple attachments.
Reinforce all seam lines and closure attachment points with double stitching to handle outdoor wear and frequent opening. We pay special attention to corners and stress points where fabric experiences the most tension during windy conditions.
Install a Retractable Awning System
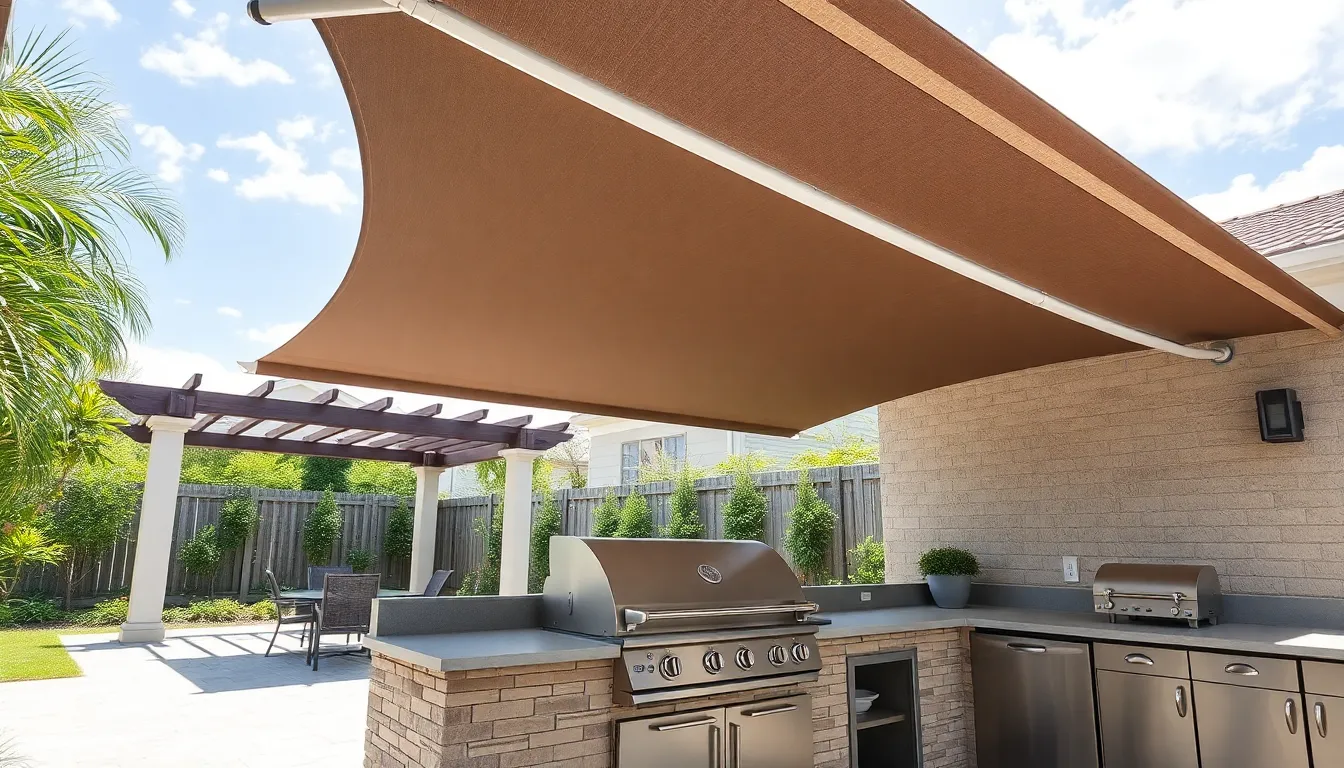
Retractable awnings offer the ultimate flexibility for covering your grill area while maintaining the outdoor cooking experience you love. These systems extend or retract as needed to shield your grill from sun, rain, and debris.
Mount Adjustable Shade Mechanisms
Mounting adjustable shade devices above your grill area transforms your outdoor cooking space into a customizable haven. Pergola covers with sliding panels provide targeted protection while allowing you to control exactly how much sunlight reaches your cooking area. Shade sails offer a modern aesthetic and can be adjusted to different positions throughout the day based on sun angles and weather conditions.
Adjustable louvers deliver precise control over light and airflow, making them ideal for grills that need ventilation during cooking. These mechanisms mount securely to existing structures or can be installed on new posts specifically designed for your grill zone. We recommend positioning adjustable shades at least 8 feet above your grill surface to ensure proper clearance and heat dissipation.
Installing mounting brackets requires careful attention to wind load ratings and structural support. Choose mounting hardware rated for your local wind conditions and ensure all connection points can handle the stress of extended and retracted positions. Professional installation may be necessary for larger shade systems or complex mounting situations.
Select UV-Resistant Fabric Materials
UV-resistant fabrics form the foundation of any successful retractable awning system. Heavy-duty canvas withstands years of sun exposure while maintaining its protective qualities and color integrity. Vinyl fabrics excel in wet climates due to their waterproof properties and easy cleaning requirements.
Polyester fabrics treated with UV inhibitors offer excellent durability at competitive price points. These materials resist fading, cracking, and degradation even under intense sun exposure. Treated outdoor fabrics specifically designed for awning applications provide the best balance of protection and longevity.
Fabric weight directly impacts durability and wind resistance. We suggest selecting materials with minimum weights of 12 ounces per square yard for most residential applications. Heavier fabrics up to 18 ounces per square yard work better in high-wind areas or for larger awning installations.
Color selection affects both aesthetics and performance. Darker colors absorb more heat but provide better UV protection, while lighter colors reflect heat but may show dirt more readily. Consider your local climate and maintenance preferences when choosing fabric colors.
Include Manual or Motorized Operation Options
Manual crank systems provide reliable operation at affordable price points for most homeowners. These systems require physical effort to extend and retract but offer simplicity and fewer mechanical components that could fail over time. Hand cranks work best for smaller awnings up to 12 feet wide where leverage remains manageable.
Motorized remote-controlled systems deliver convenience and ease of use, especially for larger covers or those mounted high off the ground. Electric motors handle the heavy lifting while you control operation from anywhere in your outdoor space. Battery backup options ensure operation during power outages.
Installation complexity varies significantly between manual and motorized options. Manual systems typically require basic hand tools and can be completed in a weekend by most DIY enthusiasts. Motorized systems may need electrical connections and professional installation to ensure proper wiring and safety compliance.
Wind sensors add automatic protection for motorized awnings by retracting the cover when winds exceed safe operating limits. These sensors prevent damage during sudden storms and provide peace of mind when you’re away from home. Sun sensors can automatically extend awnings during bright conditions and retract them at sunset.
Create a Multi-Functional Grill Station Cover
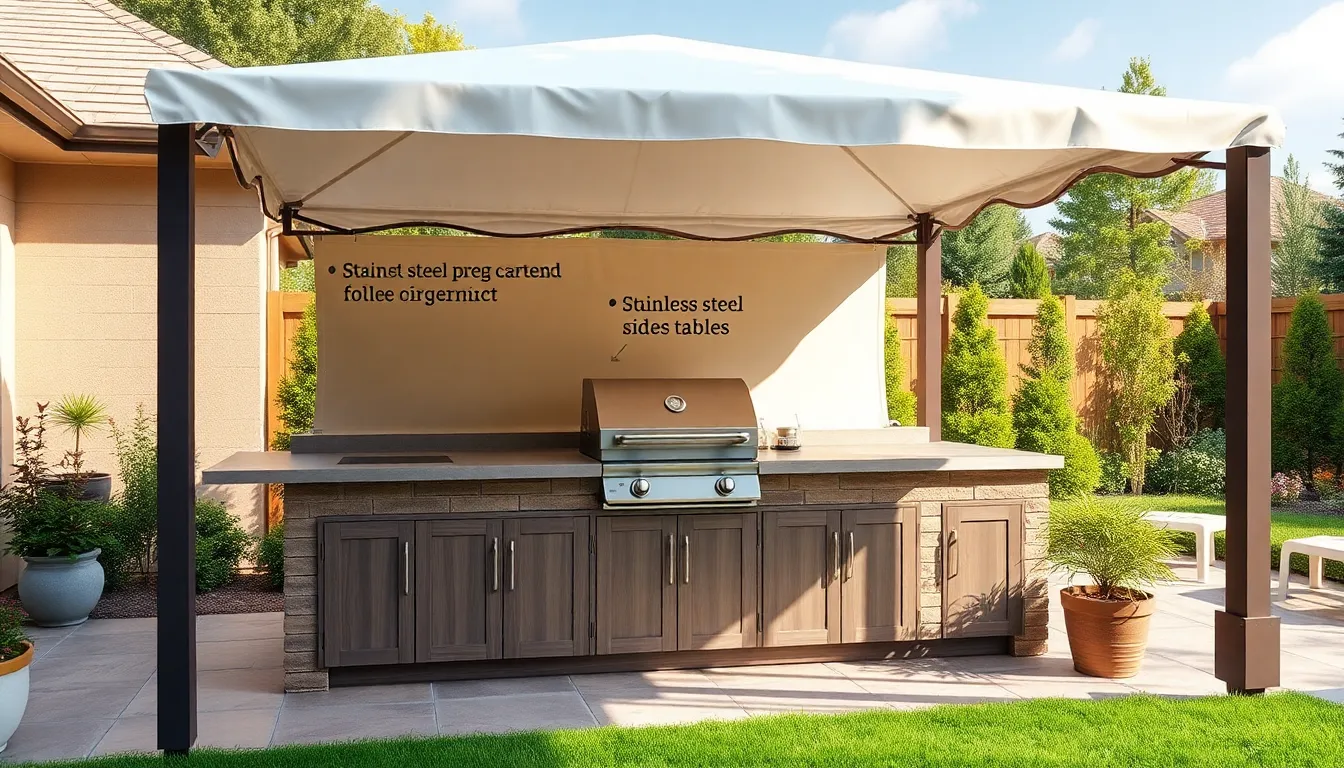
We’ve explored various protective answers, but now it’s time to transform your grill cover into a comprehensive outdoor cooking headquarters. Multi-functional grill station covers maximize every square inch of your patio space while providing weather protection and cooking convenience.
Combine Prep Space With Protective Covering
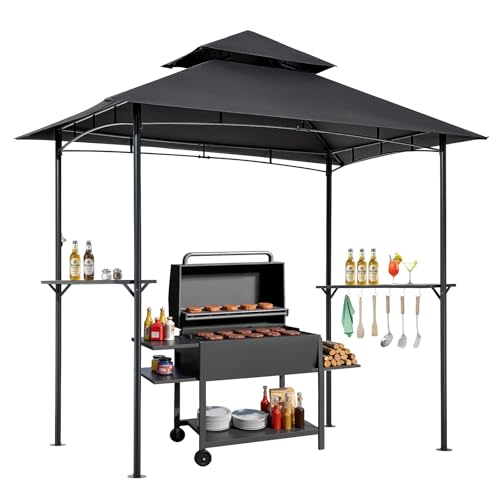
Design a grill cover structure that doubles as a food preparation area by incorporating a roof or canopy system above your cooking zone. We recommend using treated wood or metal framing with weather-resistant roofing materials to shield both your grill and adjacent prep surfaces from rain and sun exposure. This protective covering extends your grill’s lifespan while creating a dedicated chopping, seasoning, and plating area right next to your cooking surface.
Build your prep counter using materials like stainless steel, sealed wood, or composite decking that can withstand outdoor conditions. Position the prep surface at a comfortable working height, typically 36 inches, to reduce back strain during food preparation. Weather-resistant materials ensure your prep space remains functional throughout different seasons while maintaining an attractive appearance on your patio.
Build Fold-Down Side Tables
Incorporate fold-down side tables attached to your main grill station frame or cover structure for maximum space efficiency. We suggest mounting these tables with heavy-duty hinges that can support the weight of dishes, utensils, and ingredients during cooking sessions. Fold the tables up against the main structure when not in use to save valuable patio space and maintain a clean appearance.
Construct your fold-down tables using lightweight yet durable materials like marine-grade plywood or aluminum to ensure easy operation without compromising strength. Add support brackets or chains to stabilize the tables when extended, providing a secure surface for prep work and serving. This design maximizes functionality for small patios while simplifying cleanup and storage after grilling sessions.
Integrate Storage for Grilling Accessories
Add built-in storage compartments beneath or beside your grill cover station to organize tools, charcoal, spices, and cleaning supplies within arm’s reach. We recommend designing weatherproof compartments using materials like marine-grade plywood with sealed joints or metal storage boxes with gasket seals. This organization system reduces patio clutter while improving cooking efficiency during grilling sessions.
Create designated spaces for different categories of grilling accessories, such as separate compartments for tools, fuel, seasonings, and maintenance supplies. Install shelving systems or drawer units that slide out for easy access to frequently used items. Weather protection for your storage areas prevents rust on metal tools and keeps dry goods like charcoal and wood chips moisture-free throughout the seasons.
Budget-Friendly PVC Pipe Grill Covers
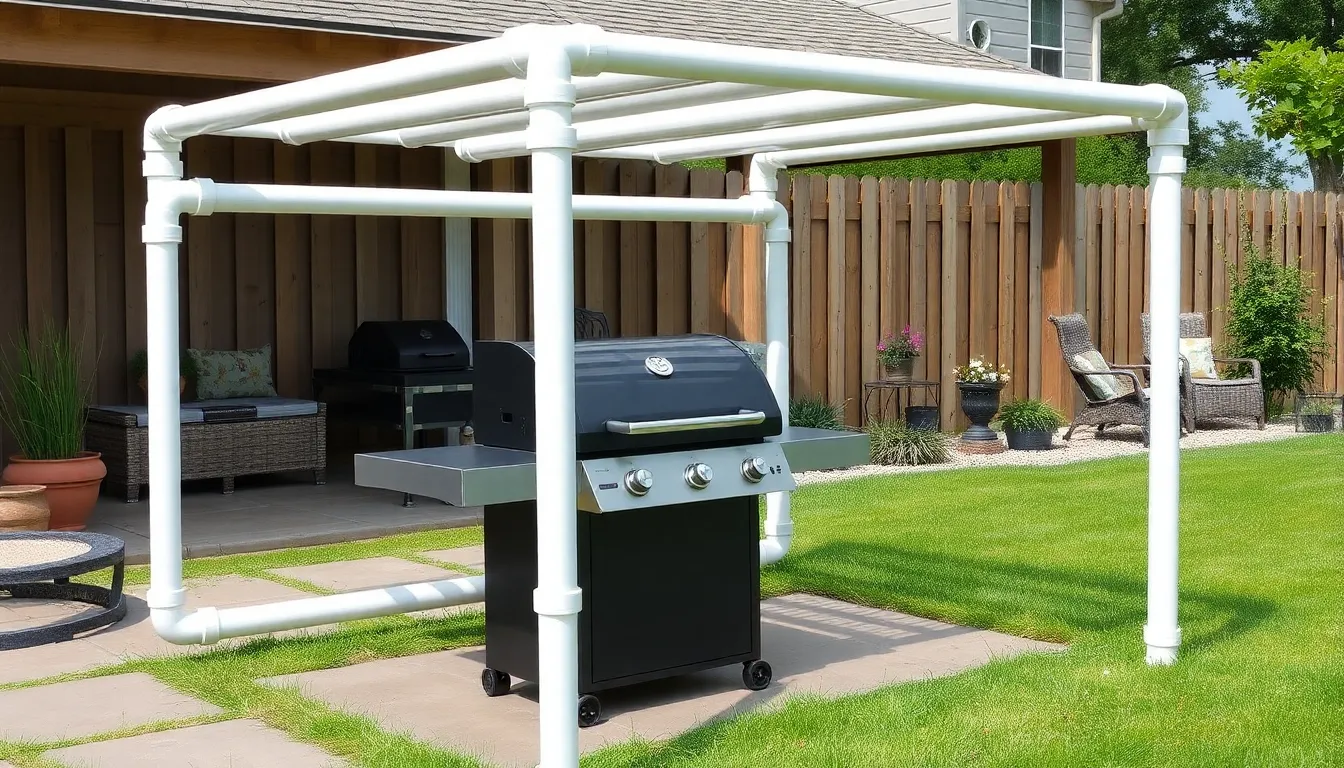
PVC pipe frames offer an affordable alternative to expensive commercial covers while providing excellent protection for your grill investment. We’ll show you how to create a lightweight yet durable cover system that costs significantly less than store-bought options.
Assemble Lightweight Frame Structures
Building your PVC frame starts with measuring your grill’s dimensions and adding 6-8 inches on each side for proper coverage. Cut the PVC pipes using a hacksaw or pipe cutter to create the main frame pieces that’ll form either a simple box or tent shape design. Connect the pipes using PVC connectors like elbows and T-joints to create a sturdy framework that fits your grill’s exact measurements.
Assemble the base frame first by connecting the bottom perimeter pieces with corner connectors. Add vertical support pipes at each corner to create the frame’s height, ensuring they’re tall enough to clear your grill’s highest point. Complete the structure by adding top frame pieces that mirror the base dimensions, creating a lightweight yet stable cover framework.
Secure all connections with PVC cement for permanent installations, or leave them dry-fitted for easy disassembly and storage during off-seasons. Test the frame’s stability by gently shaking it before proceeding to the covering stage.
Attach Waterproof Covering Materials
Select your covering material based on your local weather conditions and budget, with heavy-duty canvas, vinyl, polyester, or thick plastic sheeting being the most popular choices. Wrap the waterproof material around your PVC frame, ensuring complete coverage from top to bottom while leaving adequate material for securing methods.
Attach the covering using elastic bands stretched around the frame’s base for quick removal and installation. Alternatively, sew Velcro strips along the material’s edges that correspond with Velcro strips attached to the PVC pipes for a more permanent yet removable solution. Use zip ties or rope ties at strategic points to prevent wind damage and ensure the cover stays snugly in place.
Create access points by installing zippers or Velcro flaps on one side of the cover for easy grill access without removing the entire covering. Reinforce stress points where the material contacts the frame edges using fabric tape or additional stitching to prevent tears.
Customize Size for Any Grill Type
Measure your grill’s height, width, and depth carefully before cutting any PVC pipes to ensure a perfect custom fit. Account for protruding handles, side shelves, or temperature gauges that might require additional clearance space in your frame design. Adjust the frame dimensions by simply cutting longer or shorter pipe sections as needed for your exact grill model.
Design the frame shape to accommodate different grill types, whether you have a small portable unit, standard gas grill, or large built-in outdoor kitchen setup. Create modular sections that can be added or removed to adjust the cover’s size for seasonal grill accessories or different cooking setups. Modify the height by using adjustable leg extensions or adding pipe segments to accommodate taller grills or additional clearance requirements.
Paint the PVC pipes with outdoor spray paint to match your patio décor or apply UV-resistant coatings to extend the frame’s lifespan. This customization flexibility allows you to create a cover system that grows and adapts with your outdoor cooking needs while maintaining that perfect fit we all want.
Decorative Covers That Enhance Patio Aesthetics
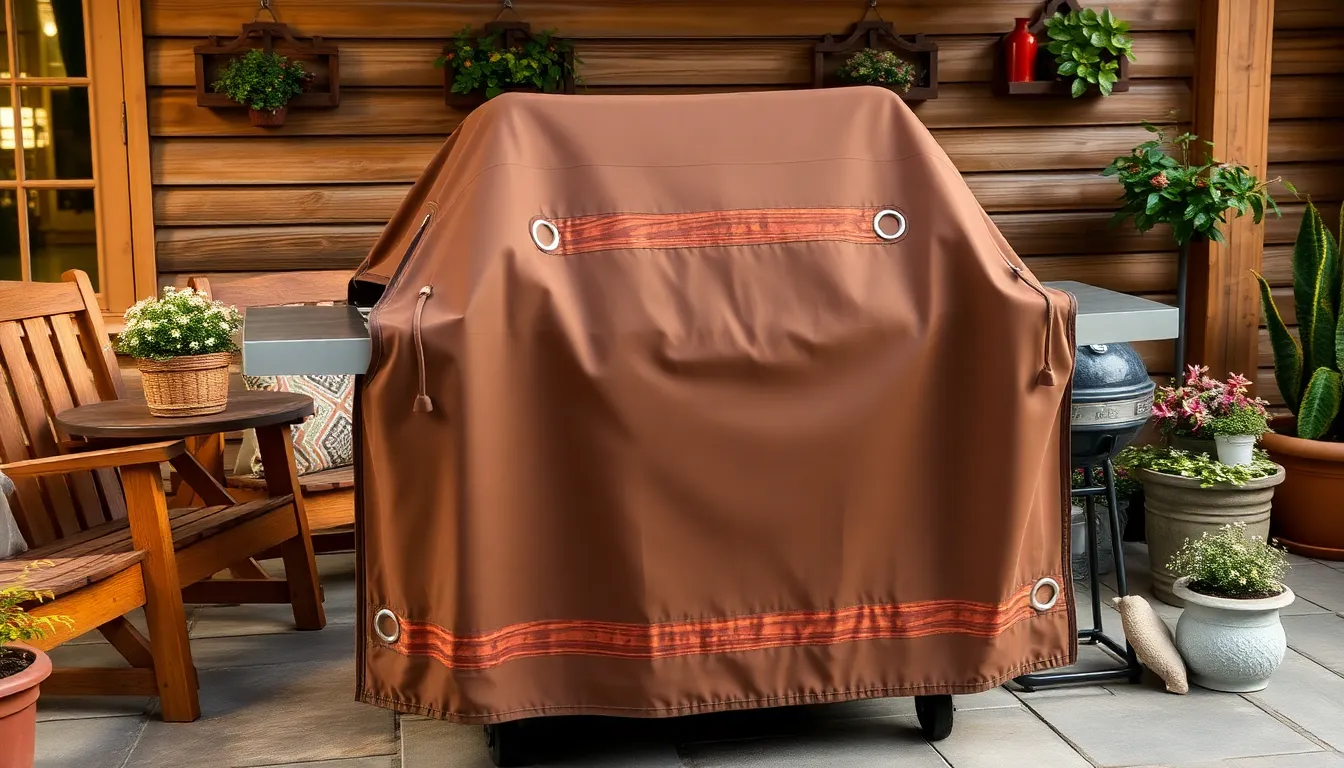
Creating a grill cover that complements your outdoor space transforms practical protection into stylish design. These decorative approaches ensure your DIY cover becomes an attractive focal point rather than an eyesore.
Match Existing Outdoor Decor Themes
Rustic patios benefit from grill covers featuring natural wood elements or earth-tone fabrics that seamlessly integrate with the space’s organic appeal. Canvas materials in deep browns, forest greens, or burnt orange tones create visual harmony with wooden furniture and natural stone elements.
Modern outdoor spaces call for sleek, monochrome color schemes that coordinate with minimalist furniture designs. We recommend using heavy-duty vinyl or polyester in charcoal gray, crisp white, or matte black to complement contemporary patio aesthetics.
Mediterranean themes pair beautifully with warm terracotta, deep blues, or sunny yellow fabrics that reflect the coastal vibe. Textured materials like heavy canvas with subtle patterns add depth while maintaining the relaxed elegance of this design style.
Add Decorative Trim and Hardware
Decorative grommets serve dual purposes by securing your cover while adding polished metallic accents that catch the eye. Brass or stainless steel grommets create sophisticated touches that elevate basic fabric covers into custom outdoor accessories.
Contrasting piping along seam lines transforms plain covers into customized pieces that look professionally crafted. We suggest using weather-resistant piping in complementary colors to create visual interest without overwhelming the overall design.
Custom handles made from rope, leather, or decorative hardware make cover removal easier while adding unique style elements. Buckles and adjustable straps not only provide functional security during windy conditions but also contribute to the cover’s aesthetic appeal.
Tassels and decorative borders offer opportunities to incorporate personal style preferences while maintaining weather resistance. Choose trim materials specifically designed for outdoor use to ensure longevity and color retention.
Coordinate Colors With Patio Furniture
Neutral colors like beige, gray, and black provide versatile foundation options that complement any existing furniture arrangement. These classic choices create sophisticated backdrops that won’t clash with seasonal decor changes or new furniture additions.
Matching your grill cover to existing cushion colors creates intentional design cohesion throughout your outdoor space. We recommend pulling accent colors from throw pillows, umbrellas, or outdoor rugs to tie the entire patio together visually.
Bold pattern incorporation works best when balanced with solid-colored furniture pieces to avoid overwhelming the space. Geometric prints, stripes, or subtle florals can add personality while maintaining sophisticated outdoor appeal.
Seasonal color rotation keeps your patio looking fresh throughout the year by swapping cover fabrics to match changing weather and occasions. Store multiple cover options to coordinate with holiday themes or summer entertaining needs.
Conclusion
Creating the perfect grill cover doesn’t have to expensive or require professional skills. We’ve shown you how simple materials and creative thinking can transform your outdoor cooking space into both a functional and stylish area that reflects your personal taste.
Whether you choose a budget-friendly PVC frame or invest in a permanent shelter structure, the key is selecting the approach that best fits your needs and patio layout. From repurposed materials to custom-fitted designs, there’s a DIY solution for every grill shape and outdoor space.
Your grill cover project is just the beginning of improving your outdoor cooking experience. With proper planning and the right materials, you’ll create a weather-resistant solution that keeps your grill protected while adding visual appeal to your patio for years to come.
Frequently Asked Questions
What materials work best for DIY grill covers?
Heavy-duty canvas, vinyl, polyester, and outdoor-rated tarp materials are ideal for DIY grill covers. These weather-resistant fabrics provide excellent protection against rain, UV rays, and wind. For frames, pressure-treated lumber, Western Red Cedar, PVC pipes, and powder-coated metal offer durability and weather resistance while remaining budget-friendly.
How do I measure my grill for a custom-fitted cover?
Start by measuring your grill’s length, width, and height at the widest points, including handles and side shelves. Add 2-4 inches to each dimension for proper fit and air circulation. Create a paper pattern first to test the fit before cutting your fabric. This ensures complete protection without being too loose or tight.
Can I make a grill cover without advanced DIY skills?
Absolutely! Many effective grill covers require only basic skills like measuring, cutting, and simple assembly. PVC pipe frames use easy snap-together connectors, while fabric covers need minimal sewing. Start with simple designs using repurposed materials like old tarps or canvas drop cloths for practice before attempting more complex projects.
What’s the most budget-friendly DIY grill cover option?
PVC pipe frame covers are the most economical choice, typically costing under $50. Use PVC pipes and connectors for the frame, then attach heavy-duty canvas or vinyl with elastic bands. Alternatively, repurpose old tarps, drop cloths, or outdoor fabric from worn patio furniture for even greater savings.
How can I make my grill cover decorative and functional?
Choose fabrics and colors that complement your patio décor. Add decorative trim, contrasting piping, or attractive hardware like grommets. Consider seasonal color rotations to keep your outdoor space fresh. For rustic patios, use earth tones and natural materials; for modern spaces, opt for sleek, monochrome designs.
What are the advantages of a permanent grill shelter?
Permanent shelters provide year-round protection and create a dedicated outdoor cooking zone. They eliminate the need to constantly cover and uncover your grill, offer additional prep space, and can include storage compartments. Built with materials like cedar and metal roofing, they’re extremely durable and add value to your outdoor living space.
How do I ensure my DIY grill cover is weatherproof?
Use waterproof treatments on fabric covers and seal all seams with waterproof tape or double stitching. Add reinforced stress points at corners and closure areas. Include proper drainage by angling covers to shed water. For permanent structures, ensure adequate ventilation to prevent moisture buildup and use weather-resistant fasteners throughout.
What features should I include in a rolling grill cover cart?
Include heavy-duty locking casters for mobility and stability, integrated storage compartments for tools and accessories, and fold-down prep surfaces for space efficiency. Use weather-resistant materials throughout and ensure the cover portion fits snugly around your grill. Add sturdy handles for easy maneuvering across different outdoor surfaces.

