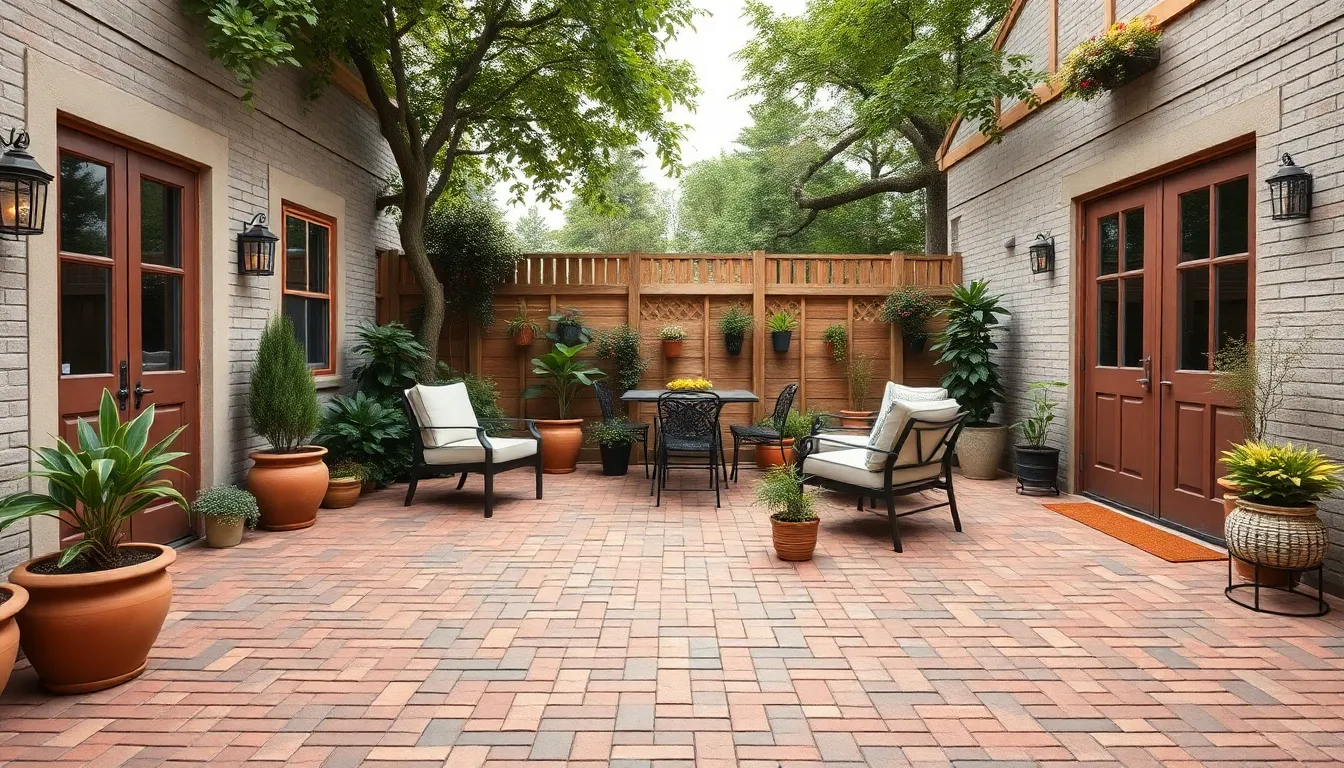
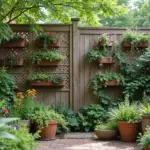
We’ve all dreamed of having that perfect outdoor patio space where we can relax with family and friends. The good news? You don’t need to expensive to create a stunning paver patio that’ll transform your backyard into an inviting retreat.
Budget-friendly paver patios are entirely achievable when you know the right strategies and design tricks. From choosing affordable materials to implementing clever DIY techniques we’ll share proven methods that can cut your costs in half while still delivering professional-looking results.
Whether you’re working with $500 or $2000 we’ll show you how to maximize every dollar and create a beautiful outdoor space that adds value to your home. Get ready to discover creative paver patio ideas that prove luxury doesn’t always come with a luxury price tag.
Choose Concrete Pavers for Maximum Savings
Concrete pavers deliver the most value for budget-conscious homeowners looking to create stunning patio spaces. We’ve found that choosing concrete over natural stone can cut material costs by 60-70% while still providing durability and visual appeal.
Standard Gray Concrete Pavers
Standard gray concrete pavers offer the most economical foundation for your patio project. These basic pavers typically cost between $0.50-$2.00 per square foot compared to $3-15 per square foot for natural stone alternatives. We recommend starting with this neutral base since gray complements virtually any outdoor color scheme and existing landscaping elements.
Gray concrete pavers provide excellent longevity lasting 25-30 years with proper installation and minimal maintenance. They resist cracking better than poured concrete and handle freeze-thaw cycles without important damage. Most home improvement stores stock these pavers year-round making them readily available for immediate project starts.
Basic Rectangular Shapes
Basic rectangular concrete pavers reduce both material and labor costs significantly. Standard sizes like 12×12 inches or 6×12 inches create fewer cuts during installation and require less precision work. We’ve discovered that rectangular patterns install 40% faster than complex shapes like hexagons or irregular stones.
Rectangular pavers create clean geometric patterns that look professionally designed without requiring advanced laying techniques. Running bond patterns using rectangular pavers need minimal planning and create visual interest through simple offset arrangements. These shapes also minimize waste since leftover pieces easily fit into border areas or smaller spaces.
Bulk Purchasing Options
Bulk purchasing concrete pavers reduces per-unit costs by 15-25% compared to buying individual pallets. Most suppliers offer volume discounts starting at 500 square feet with deeper savings at 1,000+ square feet. We suggest coordinating with neighbors or planning multiple outdoor projects to reach bulk pricing thresholds.
Construction supply yards typically provide better bulk rates than retail home improvement stores. Direct manufacturer purchases offer the steepest discounts but require minimum orders of 2,000-3,000 square feet. Seasonal purchasing during fall and winter months can yield additional savings of 10-20% as suppliers clear inventory for spring deliveries.
| Purchase Method | Cost Per Sq Ft | Minimum Order | Potential Savings |
|---|---|---|---|
| Retail Stores | $1.50-$2.00 | 50 sq ft | Baseline |
| Supply Yards | $1.00-$1.50 | 500 sq ft | 15-25% |
| Direct Manufacturer | $0.75-$1.25 | 2,000 sq ft | 30-40% |
Create Simple Geometric Patterns
Smart pattern choices transform standard concrete pavers into visually stunning patios while keeping installation costs minimal. We’ll explore three budget friendly geometric designs that maximize impact without requiring specialized tools or advanced skills.
Running Bond Layout
Running bond represents the most economical pattern for budget conscious homeowners looking to create professional results. This straightforward design features staggered rows of rectangular pavers, with each row offset by half the paver’s length. Installation becomes remarkably simple since the pattern minimizes cutting waste and reduces material costs significantly.
We recommend starting with the longest straight edge of your patio space to establish clean lines. Labor costs drop dramatically because installers can work quickly without complex measurements or intricate cuts. The offset design naturally guides water drainage while creating visual interest through its clean, linear appearance.
Herringbone Pattern
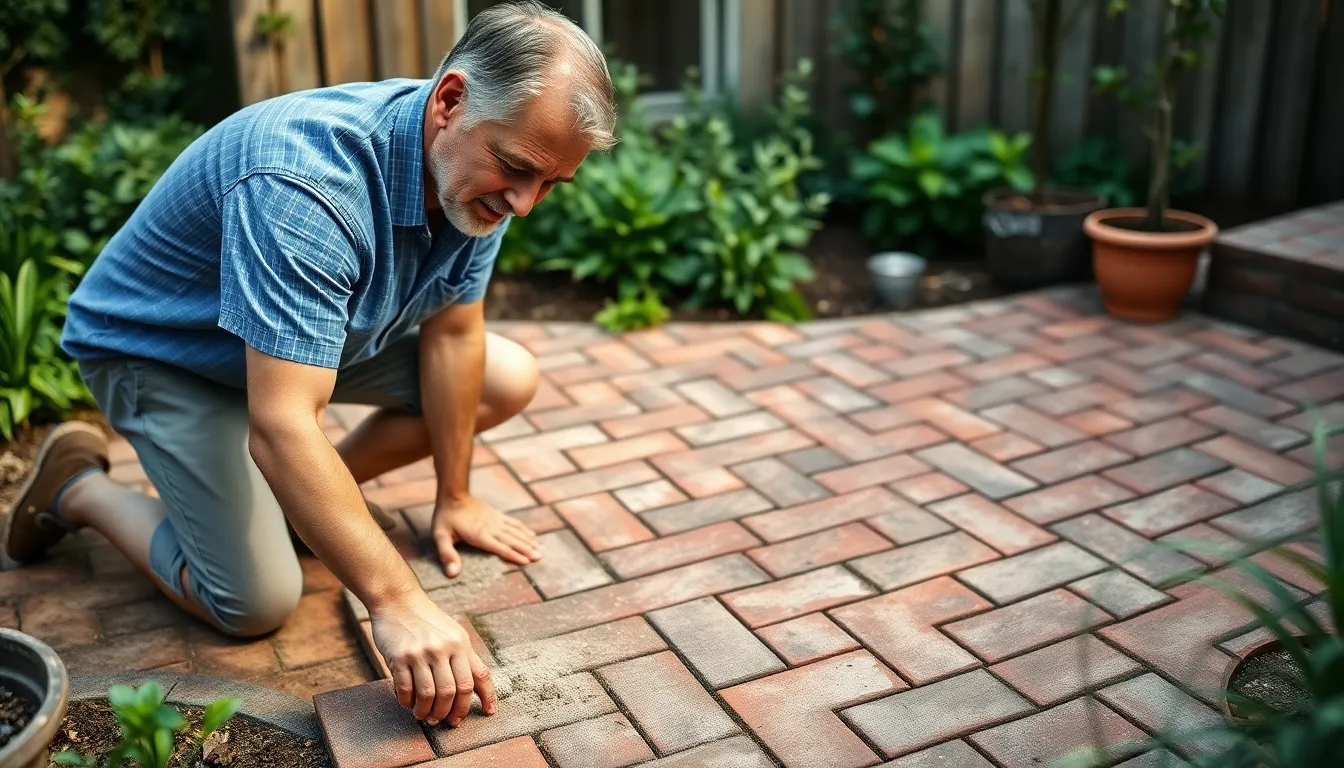
Herringbone patterns deliver exceptional durability by locking pavers together in an interlocking zigzag formation. Rectangular pavers can be positioned at either 45 degree or 90 degree angles, creating ever-changing visual texture that rivals expensive natural stone installations. This classic design provides superior structural strength for patios that experience heavy foot traffic or outdoor furniture placement.
Installation requires slightly more planning than running bond, but the results justify the extra effort. We suggest laying pavers in small sections to maintain consistent angles throughout the project. The interlocking nature of herringbone reduces shifting over time, making it an excellent long term investment for budget conscious homeowners.
Basketweave Design
Basketweave patterns create traditional charm using pairs of rectangular pavers arranged in alternating horizontal and vertical orientations. This timeless design mimics woven basket textures while utilizing standard sized pavers to keep material costs low. Groups of two or three pavers work together to form each “weave” section, building up the overall pattern systematically.
We find basketweave particularly effective for creating cozy outdoor spaces with classic appeal. The alternating orientation adds visual depth without requiring premium materials or specialized cutting tools. Installation moves efficiently since the pattern repeats in predictable sections, allowing DIY enthusiasts to tackle larger areas with confidence.
Incorporate DIY Installation Techniques
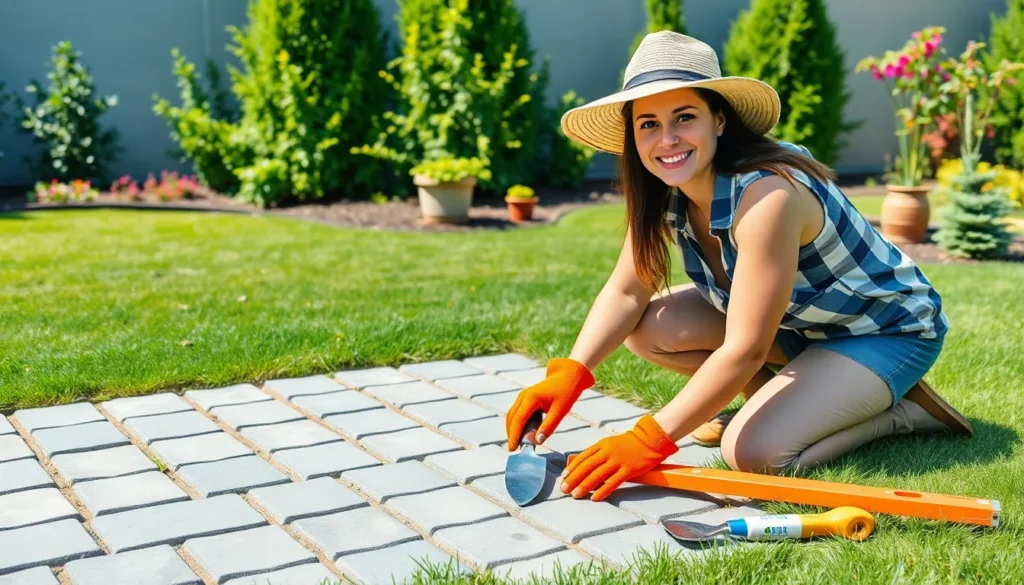
Mastering the installation process yourself can save hundreds of dollars in contractor fees while giving you complete control over your paver patio project. We’ll guide you through three essential techniques that ensure professional results without the professional price tag.
Proper Base Preparation
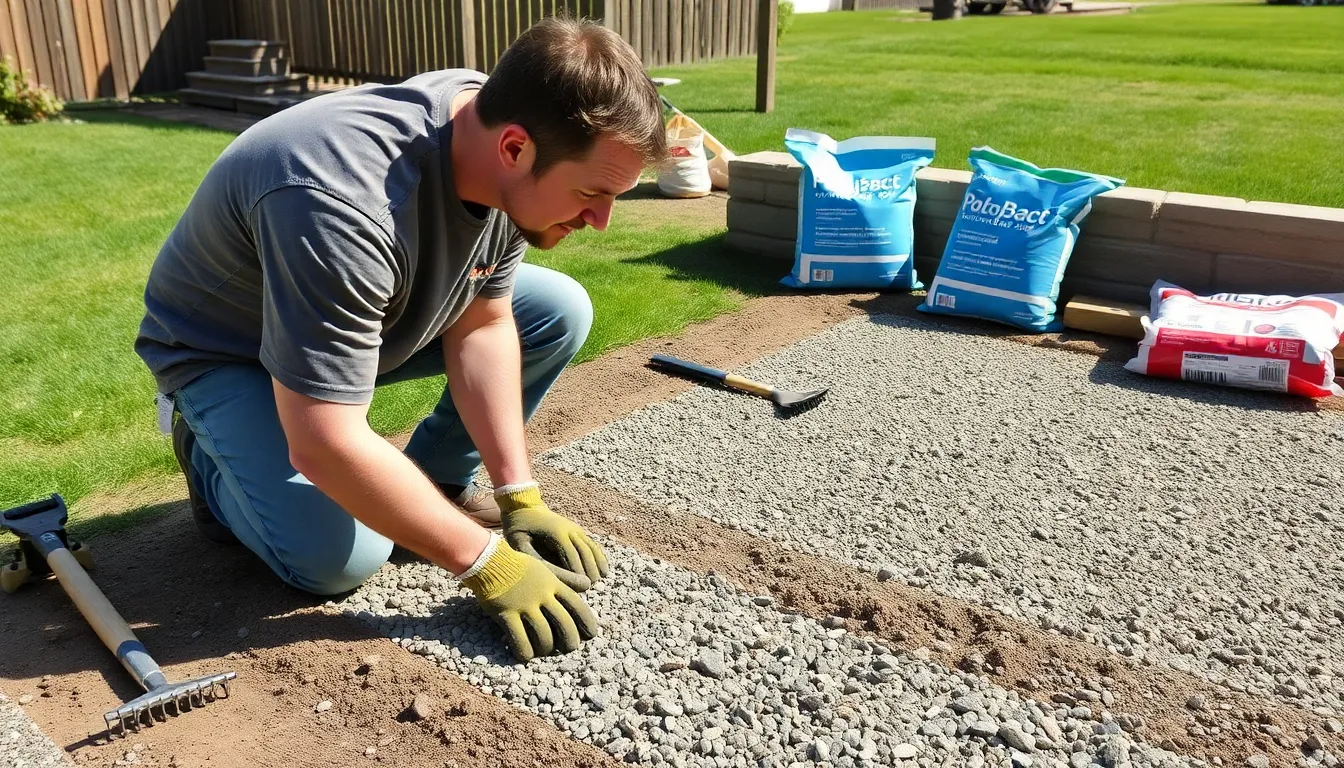
Excavation depth matters most for long term stability. We recommend digging 6 inches deep to accommodate both your base materials and pavers properly. Remove all debris including roots, rocks, and organic matter that could cause settling issues later.
Level the excavated area using a rake and tamp it down firmly. This creates the foundation that everything else builds upon. Add 4 inches of compacted gravel or crushed stone next, which improves drainage and prevents frost heaving in colder climates.
Top your gravel base with 1 to 2 inches of leveling sand. Screed this sand layer smooth using a straight board to create an even surface. This final preparation step ensures your pavers will sit level and look professionally installed.
Sand Setting Method
Apply polymeric sand over your installed pavers using a push broom. Sweep the sand into every joint between pavers, making sure to fill gaps completely. This specialized sand costs more than regular sand but prevents weed growth and ant infiltration.
Tamp or vibrate the patio surface lightly to help sand settle deep into joints. Add more polymeric sand as needed until all spaces are filled flush with the paver tops. Clean excess sand from paver surfaces before the next step.
Activate the polymeric sand by misting it lightly with water. This causes the sand to harden and lock your pavers in place. Wait 24 hours before heavy use to allow complete curing.
Edge Restraint Installation
Install edge restraints around your entire patio perimeter before placing any pavers. These plastic or metal strips prevent pavers from shifting outward over time. Secure them with spikes driven into the compacted base every 12 inches.
Position restraints on top of your base panels or gravel layer. The restraint should sit at the same height as your finished paver surface. This invisible border maintains your patio’s shape and integrity for decades.
Check restraint alignment using string lines to ensure straight edges. Properly installed edge restraints are the difference between a DIY project that looks amateur and one that rivals professional installation quality.
Mix Pavers with Budget-Friendly Materials
Now we’ll explore how combining standard pavers with alternative materials can stretch your budget while creating stunning visual appeal. Strategic mixing allows us to reduce the total number of pavers needed while adding texture and contrast.
Gravel Accent Areas
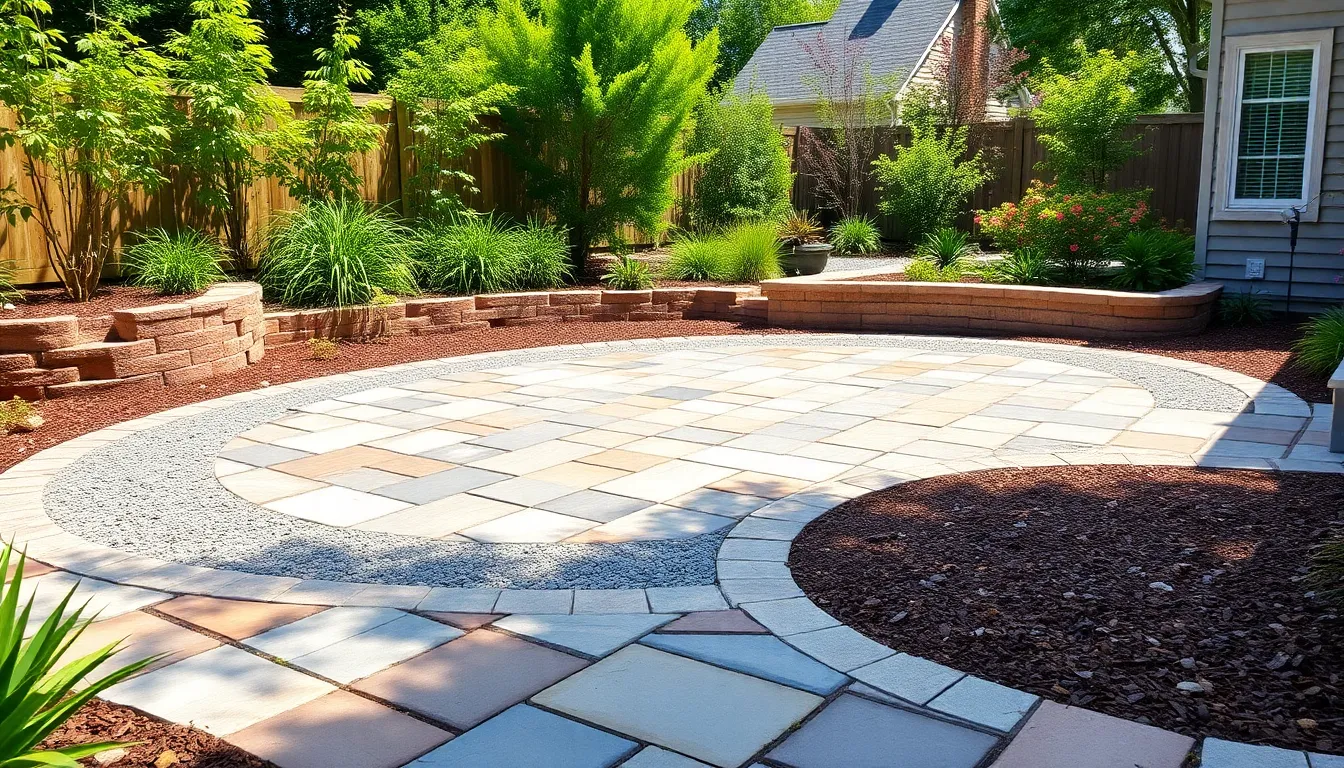
Gravel fills create beautiful texture between widely spaced pavers while dramatically reducing material costs. Pea gravel and small river stones work exceptionally well as backfill materials, costing only $10 to $24 per bag depending on color and type. We recommend spacing pavers 4-6 inches apart and filling the gaps with decorative gravel to achieve this look.
Installation becomes incredibly simple since gravel requires no special preparation beyond basic leveling. The material enhances drainage naturally, preventing water buildup that can damage traditional paver installations. Popular options include white marble chips for modern aesthetics, decomposed granite for rustic appeal, and colored pea gravel for playful designs.
Maintenance stays minimal because gravel can be refreshed or replaced easily over time. We can create defined borders around fire pits or seating areas using contrasting gravel colors. This approach reduces paver requirements by 40-50% while maintaining full functionality and visual impact.
Mulch Borders
Mulch creates soft, natural borders that beautifully contrast with hard paver surfaces. We position organic mulch around patio edges to frame the space and provide smooth transitions to surrounding industry areas. Standard wood mulch costs significantly less than additional pavers while offering excellent weed control benefits.
Color coordination enhances the overall design when we select mulch tones that complement our paver choices. Dark brown mulch pairs perfectly with gray concrete pavers, while red cedar mulch creates warmth against neutral stones. Shredded bark provides longer lasting coverage compared to smaller wood chips.
Seasonal refreshing keeps the patio looking polished throughout the year with minimal investment. We recommend applying 2-3 inch mulch depths for optimal weed suppression and moisture retention. This border treatment works exceptionally well with gravel accent combinations for layered visual interest.
Grass Joints Between Pavers
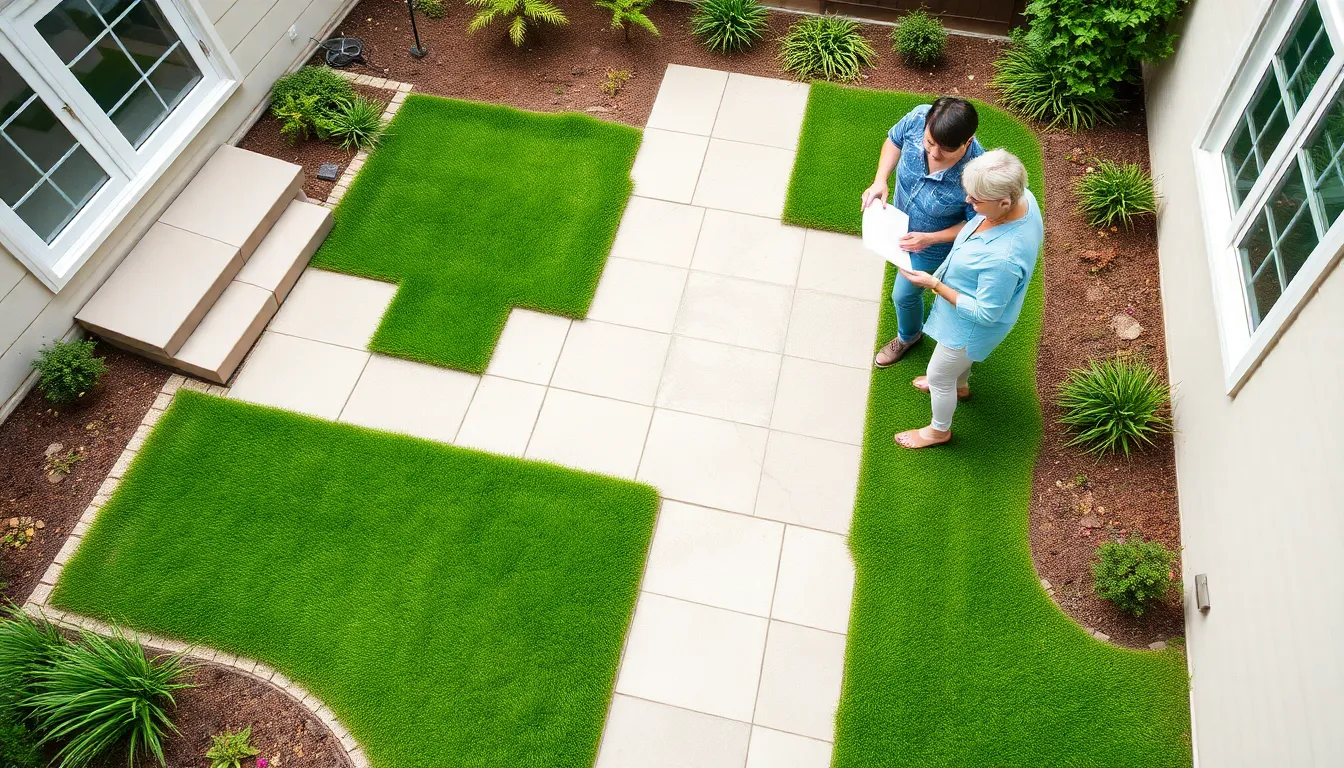
Grass joints transform traditional paver patios into living, breathing outdoor spaces. We space pavers 2-3 inches apart and plant low growing ground covers or grass varieties that tolerate foot traffic. This method reduces paver requirements by 30-40% while creating natural color contrast.
Heat absorption decreases significantly when living plants occupy spaces between pavers. The grass stays cooler underfoot during summer months compared to solid paver installations. Suitable options include fine fescue, creeping thyme, and moss varieties that establish quickly in joint spaces.
Maintenance involves regular watering and occasional trimming to keep growth controlled. We select drought tolerant species to minimize irrigation requirements and ongoing care. Buffalo grass and sedum varieties perform exceptionally well in high traffic areas while maintaining attractive appearance year round.
Repurpose and Recycle Materials
We can dramatically reduce patio costs by giving new life to materials that others might consider waste. These eco-friendly options often cost 70-80% less than new materials while adding unique character to our outdoor spaces.
Salvaged Brick Pavers
Salvaged brick pavers offer an unbeatable combination of affordability and charm for budget-conscious homeowners. We can often find these materials at demolition sites or garden centers for little to no cost, making them an excellent choice for stretching our patio budget.
Installing reclaimed bricks proves surprisingly straightforward due to their uniform size and shape. We’ll want to prepare a level base carefully to prevent uneven surfaces that could create tripping hazards. The herringbone pattern works exceptionally well with brick pavers, delivering both visual appeal and structural durability that stands the test of time.
Filling joints between bricks requires garden sand or river sand rather than regular sand, which contains salts that can harm nearby plants. This simple step stabilizes our brick surface while creating a smooth, finished appearance that rivals professionally installed patios.
Broken Concrete Pieces
Broken concrete transforms from construction waste into valuable patio material with minimal effort on our part. We can repurpose concrete rubble as base material or even create surface pavers using inexpensive concrete forms in various shapes like cobblestone patterns.
Creating DIY concrete pavers involves mixing concrete in small batches and pouring it into forms of our choice. We’ll smooth each surface before letting it set, then remove the form and repeat the process until we have enough pavers for our project. Quick-set concrete mix speeds up this process significantly, allowing us to complete more pavers in a single day.
Placing our finished concrete pavers requires filling cracks with sand to achieve a polished look and additional stability. This technique creates a custom patio surface at a fraction of the cost of purchasing new materials.
Reclaimed Stone Options
Reclaimed natural stone provides an attractive, budget-conscious alternative that brings timeless elegance to our patio design. We can source stones from old patios, walls, or other structures, then clean and reuse them for our new project.
Using larger pavers with strategic spacing creates visual interest while reducing material costs. We recommend placing 2×2 feet large pavers in a grid pattern with 2-3 inch gaps between each stone. Backfilling these spaces with pea gravel or small river stones creates a natural, low-cost surface with excellent drainage properties.
Combining reclaimed stone with inexpensive fill materials like gravel maximizes our budget while creating a sophisticated appearance. This approach delivers the luxury look of natural stone without the premium price tag, proving that style doesn’t require breaking our budget.
Start with a Smaller Patio Size
Starting with a compact patio design allows us to create a functional outdoor space while keeping material costs manageable and labor expenses low.
Phase Your Project
Breaking our patio construction into manageable phases helps spread expenses over time while allowing us to enjoy our outdoor space sooner. We can begin with a basic patio layout that focuses on essential areas like seating zones or a simple fire pit area, then gradually add features such as decorative planters, attractive edging, or additional paving sections in subsequent stages.
Phasing our project enables careful budget management and gives us flexibility to adjust our design based on how we actually use the space. We’ll discover which areas need the most attention and can allocate future resources accordingly. This strategic approach also allows us to take advantage of seasonal sales on materials and spread the financial impact across multiple budget cycles.
Focus on High-Traffic Areas
Concentrating our paving efforts on zones of highest use maximizes both functionality and visual impact while minimizing material costs. We should prioritize areas directly outside doors, main seating zones, and frequently used pathways where foot traffic naturally flows.
Using medium to large sized pavers in these key areas creates maximum visual impact with fewer materials. We can fill spacing between pavers with inexpensive pea gravel or allow grass to grow through gaps, which reduces our paver requirements by 40-50% while maintaining an attractive appearance. This targeted approach ensures our patio remains practical without requiring us to pave the entire yard.
Plan for Future Expansion
Designing our initial patio with seamless expansion in mind prevents costly redesigns and demolition work later. We should create natural borders or use modular pavers that easily accommodate new sections as our needs or budget allows.
Leaving defined edges where additional pavers can connect creates a cohesive look when we’re ready to expand. Modular and interlocking paver systems work particularly well for this approach since they maintain consistent patterns and spacing. Planning our layout with future growth zones identified upfront saves us from expensive modifications and ensures our expanded patio looks intentionally designed rather than pieced together over time.
Shop Sales and Clearance Items
Smart shopping strategies can significantly reduce our paver patio costs without sacrificing quality. We’ll explore three proven methods to find premium materials at budget-friendly prices.
End-of-Season Discounts
Timing our paver purchases strategically yields substantial savings at home centers and garden stores. We recommend shopping during late fall and winter months when retailers clear inventory to make room for seasonal products. Garden centers typically offer 30-50% discounts on pavers, sand, and installation materials between October and February.
Big box stores like Home Depot and Lowe’s rotate their outdoor inventory seasonally, creating opportunities for deep discounts. We’ve found exceptional deals on premium pavers during their spring clearance events when last year’s styles go on sale. Local industry supply centers also participate in end-of-season pricing, often providing better bulk discounts than national chains.
Planning our patio project during off-peak seasons allows us to secure materials at reduced prices while avoiding the spring rush. Storage becomes manageable when we purchase pavers months ahead and protect them with tarps or garage space until installation begins.
Overstock Opportunities
Manufacturers and distributors frequently have excess inventory that we can purchase at important discounts. Construction supply depots maintain overstock sections where premium pavers sell for 40-60% below retail prices due to color discontinuations or overproduction runs.
We suggest contacting local concrete plants and paver manufacturers directly to inquire about surplus inventory. These businesses often sell directly to homeowners at wholesale prices when they need to clear warehouse space quickly. Quality remains high since these are new products that simply exceeded demand forecasts.
Stone yards and industry suppliers also accumulate overstock from canceled commercial projects. We can access professional-grade pavers at fraction of original costs when contractors order excess materials for large developments. Building relationships with suppliers through repeat visits helps us learn about upcoming overstock opportunities.
Contractor Surplus Materials
Contractors frequently have leftover materials from completed projects that we can purchase at substantial savings. We recommend reaching out to local landscaping companies and patio installers to inquire about surplus pavers, sand, and edging materials.
Construction sites often generate usable surplus when contractors order 10-15% extra materials to account for breakage and cutting waste. These materials are typically high-quality since contractors use premium supplies for client projects. We can negotiate prices that benefit both parties while contractors avoid disposal fees.
Online marketplaces and classified ads provide access to contractor surplus materials in our local area. We’ve found complete pallet loads of matching pavers at 50-70% below retail when contractors need to clear job site storage quickly. Quality inspection becomes important since some materials may have minor chips or weathering from storage conditions.
Add Inexpensive Decorative Elements
After establishing your base patio design with budget-friendly pavers, we can enhance the space with affordable decorative elements that add personality and functionality. These strategic additions transform basic paver installations into inviting outdoor retreats without straining your budget.
Solar Path Lighting
Solar powered path lights offer an energy efficient solution for illuminating patio edges and walkways without expensive electrical work. We recommend installing these lights along the perimeter of your paver patio to create ambient lighting that enhances both safety and visual appeal during evening hours.
Installation requires no wiring or professional help, making this a perfect DIY enhancement that typically costs under $50 for a complete lighting system. Modern solar path lights charge during daylight hours and automatically illuminate at dusk, providing 6-8 hours of soft lighting that highlights your paver patterns and creates a welcoming atmosphere.
Spacing these lights every 6-8 feet along pathways and patio borders maximizes their impact while maintaining adequate illumination for safe navigation.
Potted Plants and Flowers
Potted plants introduce color and natural softness to hardscape areas while offering flexibility in design arrangements throughout different seasons. We suggest using large containers filled with low maintenance plants like ornamental grasses, succulents, or seasonal flowers to create focal points around your paver patio.
Container gardening allows us to move plants as needed for entertaining or seasonal changes, making this approach more versatile than permanent industry beds. Budget conscious homeowners can repurpose items like wooden crates, ceramic pots, or metal planters to house their greenery without purchasing expensive decorative containers.
Grouping plants in odd numbers creates more visually appealing arrangements, while selecting plants with varying heights and textures adds depth and interest to your outdoor space.
DIY Fire Pit Integration
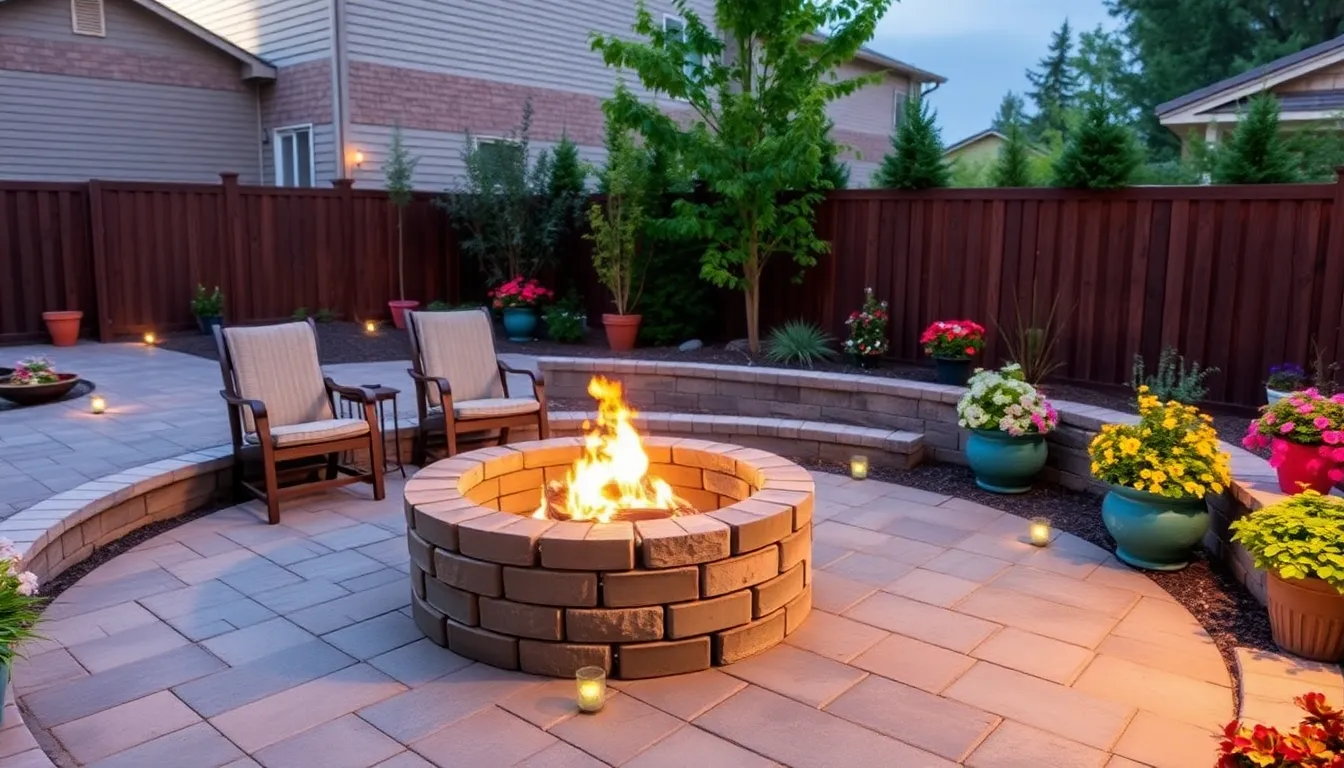
Building a fire pit from pavers creates a cozy focal point that extends your patio’s usability into cooler months without the expense of purchasing pre made units. We can construct a simple rounded fire pit by stacking retaining wall blocks in a circle and filling the base with pea gravel or crushed stone for proper drainage.
This DIY approach typically costs 60-70% less than manufactured fire pit units while using materials that complement your existing paver installation. The construction process involves creating a foundation ring approximately 36-42 inches in diameter, then stacking blocks 12-18 inches high to contain the fire safely.
Adding a steel fire ring insert inside the paver walls prevents damage from direct heat exposure and ensures longer lasting performance of your DIY fire feature.
Maintain Your Investment Long-Term
Once you’ve created your beautiful budget paver patio, proper maintenance ensures it’ll look stunning for decades while protecting your investment.
Regular Cleaning Routine
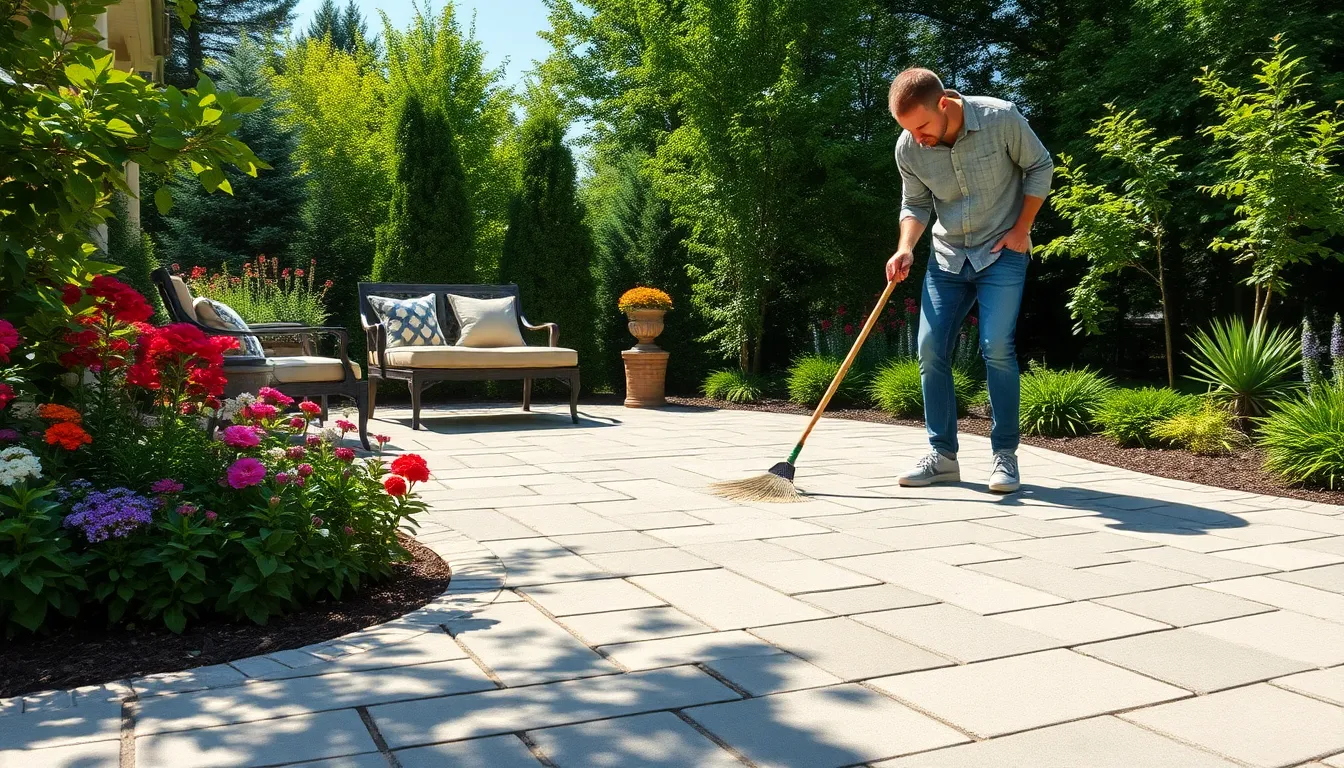
Sweep your patio weekly to remove dirt, leaves, and debris that can stain pavers over time. Regular sweeping prevents organic matter from settling into joints where it can cause discoloration or moss growth.
Rinse the surface monthly with a garden hose to wash away accumulated dust and light stains. For deeper cleaning, use a pressure washer on a low setting to avoid displacing joint sand between pavers.
Address stains immediately when they occur to prevent permanent discoloration. Mix mild detergent with water and scrub stubborn spots using a stiff brush, which effectively removes most stains without damaging the paver surface.
Schedule deep cleaning twice yearly during spring and fall to maintain your patio’s appearance. This routine keeps your budget investment looking professionally maintained year after year.
Weed Prevention Methods
Install weed barrier fabric underneath your pavers during the initial installation process. This preventive measure blocks weeds from growing up through the base while still allowing proper drainage.
Use polymeric sand in joints to create a hardened barrier that prevents weed seeds from taking root. Polymeric sand activates with water to form a solid joint that weeds can’t penetrate easily.
Inspect your patio monthly for any emerging weeds and remove them immediately by hand. Quick removal prevents weeds from establishing deep root systems that become harder to eliminate later.
Apply pre-emergent herbicide in early spring before weed seeds germinate. Choose products specifically designed for hardscapes to avoid damaging surrounding plants while keeping your paver patio weed free.
Seasonal Maintenance Tips
Clear fallen leaves promptly each autumn to prevent surface staining and moss development. Wet leaves left on pavers can create permanent discoloration that’s difficult to remove later.
Avoid harsh chemical deicers during winter months that can damage paver surfaces and joint materials. Instead, use sand for traction on icy surfaces without risking long term damage to your investment.
Check paver levels after spring thaw since freezing and thawing cycles can shift individual pavers. Re-level any uneven areas immediately to maintain a safe, flat walking surface throughout the year.
Refresh joint sand annually by adding new polymeric sand to areas where it has washed away. This simple maintenance step keeps your patio structurally sound while preventing weed growth in gaps.
Conclusion
Creating your dream paver patio doesn’t require a massive budget or professional contractors. With smart material choices like concrete pavers and strategic design patterns you can achieve stunning results for a fraction of traditional costs.
We’ve shown you how DIY installation techniques combined with creative approaches like gravel accents and grass joints can transform any backyard space. The key lies in planning carefully shopping strategically and taking advantage of seasonal sales and surplus materials.
Your budget-friendly patio investment will provide years of outdoor enjoyment when properly maintained. Start with one of our recommended patterns choose your materials wisely and watch as your outdoor space becomes the neighborhood’s envy – all while staying within your financial comfort zone.
Frequently Asked Questions
How much can I save by choosing concrete pavers over natural stone?
Concrete pavers can reduce your material costs by 60-70% compared to natural stone while offering similar durability and visual appeal. Standard gray concrete pavers cost between $0.50-$2.00 per square foot and provide excellent longevity of 25-30 years, making them the most economical choice for budget-conscious homeowners.
What’s the most cost-effective paver shape for DIY installation?
Basic rectangular pavers are the most budget-friendly option. They install 40% faster than complex shapes, reduce both material and labor costs, and create clean geometric patterns that look professionally designed. This simple shape is perfect for beginners and helps minimize installation errors.
How can I reduce paver requirements while maintaining visual appeal?
You can reduce paver needs by 30-50% by incorporating alternative materials like decorative gravel, mulch borders, or grass joints. Spacing pavers 4-6 inches apart and filling gaps with gravel creates stunning visual contrast while dramatically cutting material costs and improving drainage.
When is the best time to shop for discounted paving materials?
End-of-season sales offer the best discounts, typically 30-50% off pavers and installation materials. You can also find overstock materials from manufacturers at 40-60% below retail prices, or contact local contractors for surplus materials from completed projects at substantial savings.
What DIY techniques can help me avoid contractor fees?
Focus on proper base preparation with correct excavation depth, leveling, and gravel base installation. Use the sand setting method with polymeric sand for joint filling and install edge restraints for structural integrity. These techniques allow you to achieve professional results while maintaining complete cost control.
How can I add decorative elements on a tight budget?
Solar path lighting provides ambient illumination without electrical costs, while potted plants offer flexible color and seasonal arrangements. Consider building a DIY fire pit from leftover pavers to create a cozy focal point that extends your patio’s usability into cooler months.
What maintenance is required to keep my budget patio looking professional?
Maintain your patio with weekly sweeping and monthly rinsing. Address stains promptly, install weed barrier fabric, and use polymeric sand for weed prevention. Follow seasonal maintenance routines to protect your investment and keep your budget-friendly patio looking professionally maintained for years.
Which paver patterns work best for budget-friendly installations?
Three excellent budget-friendly patterns include Running Bond Layout, Herringbone Pattern, and Basketweave Design. These simple geometric patterns maximize visual impact while remaining accessible for DIY enthusiasts, creating professional-looking results without complex cutting or specialized installation techniques.

